
So you’ve decided to design your own quiet book from scratch — wonderful! This post details the process I usually go through when creating a new book, I hope it’ll be helpful to you.
If you’re still not sure whether a quiet book is for you — what it actually is, whether you have the skills, what you’ll need — start with How to Crochet a Quiet Book: A Beginner’s Guide and come back when you’re ready to build.
Want to create your own unique quiet book, without a pattern?
Here’s how I suggest going about it:
Step 1: Plan your pages around one theme
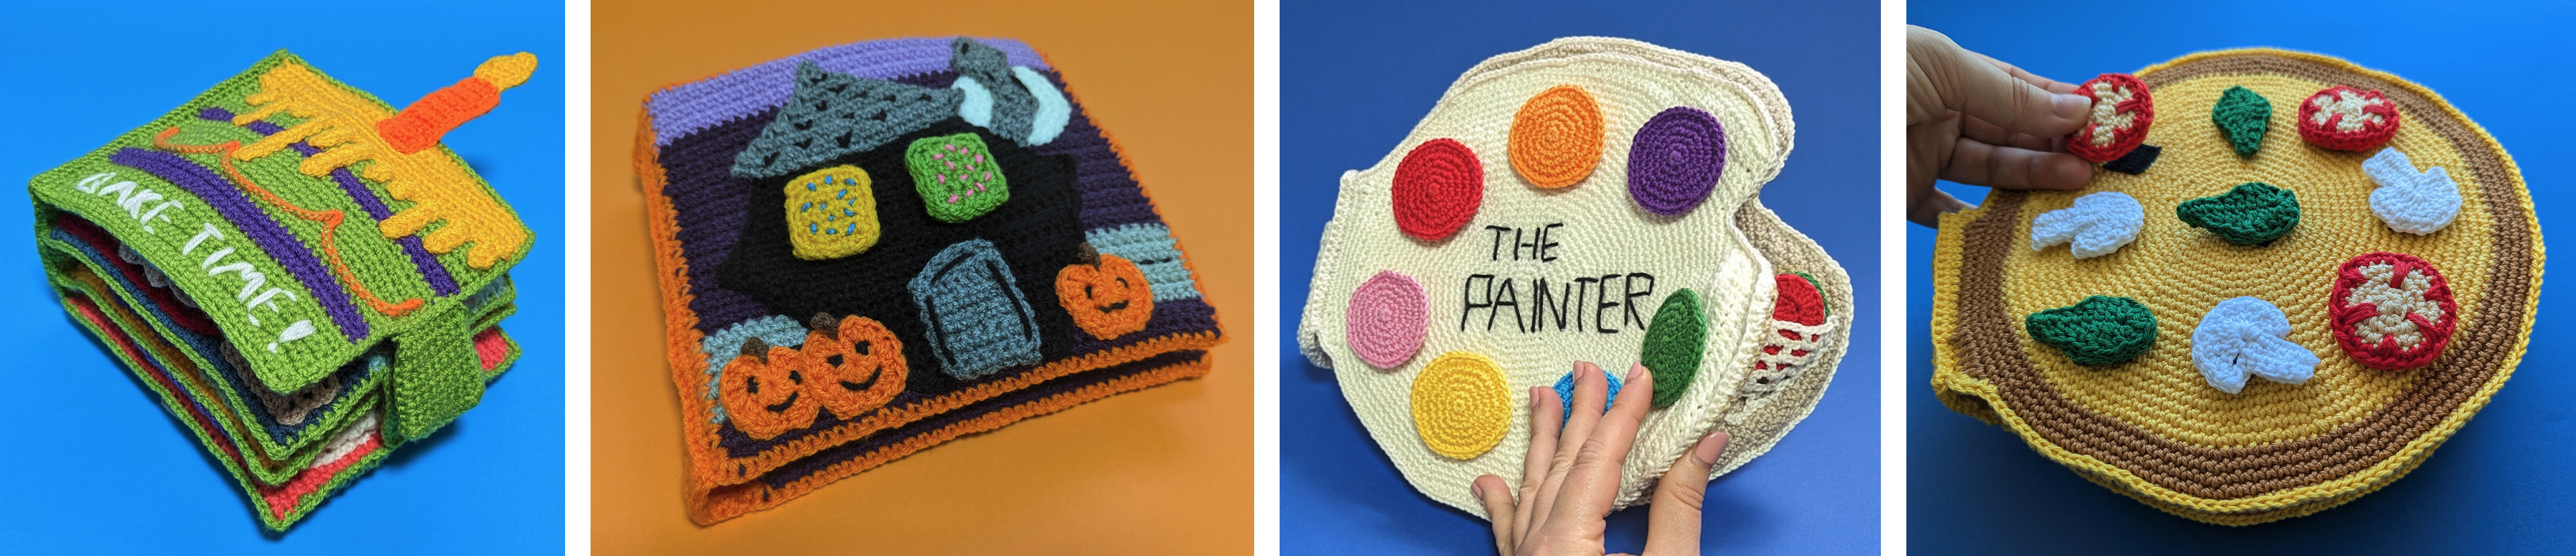
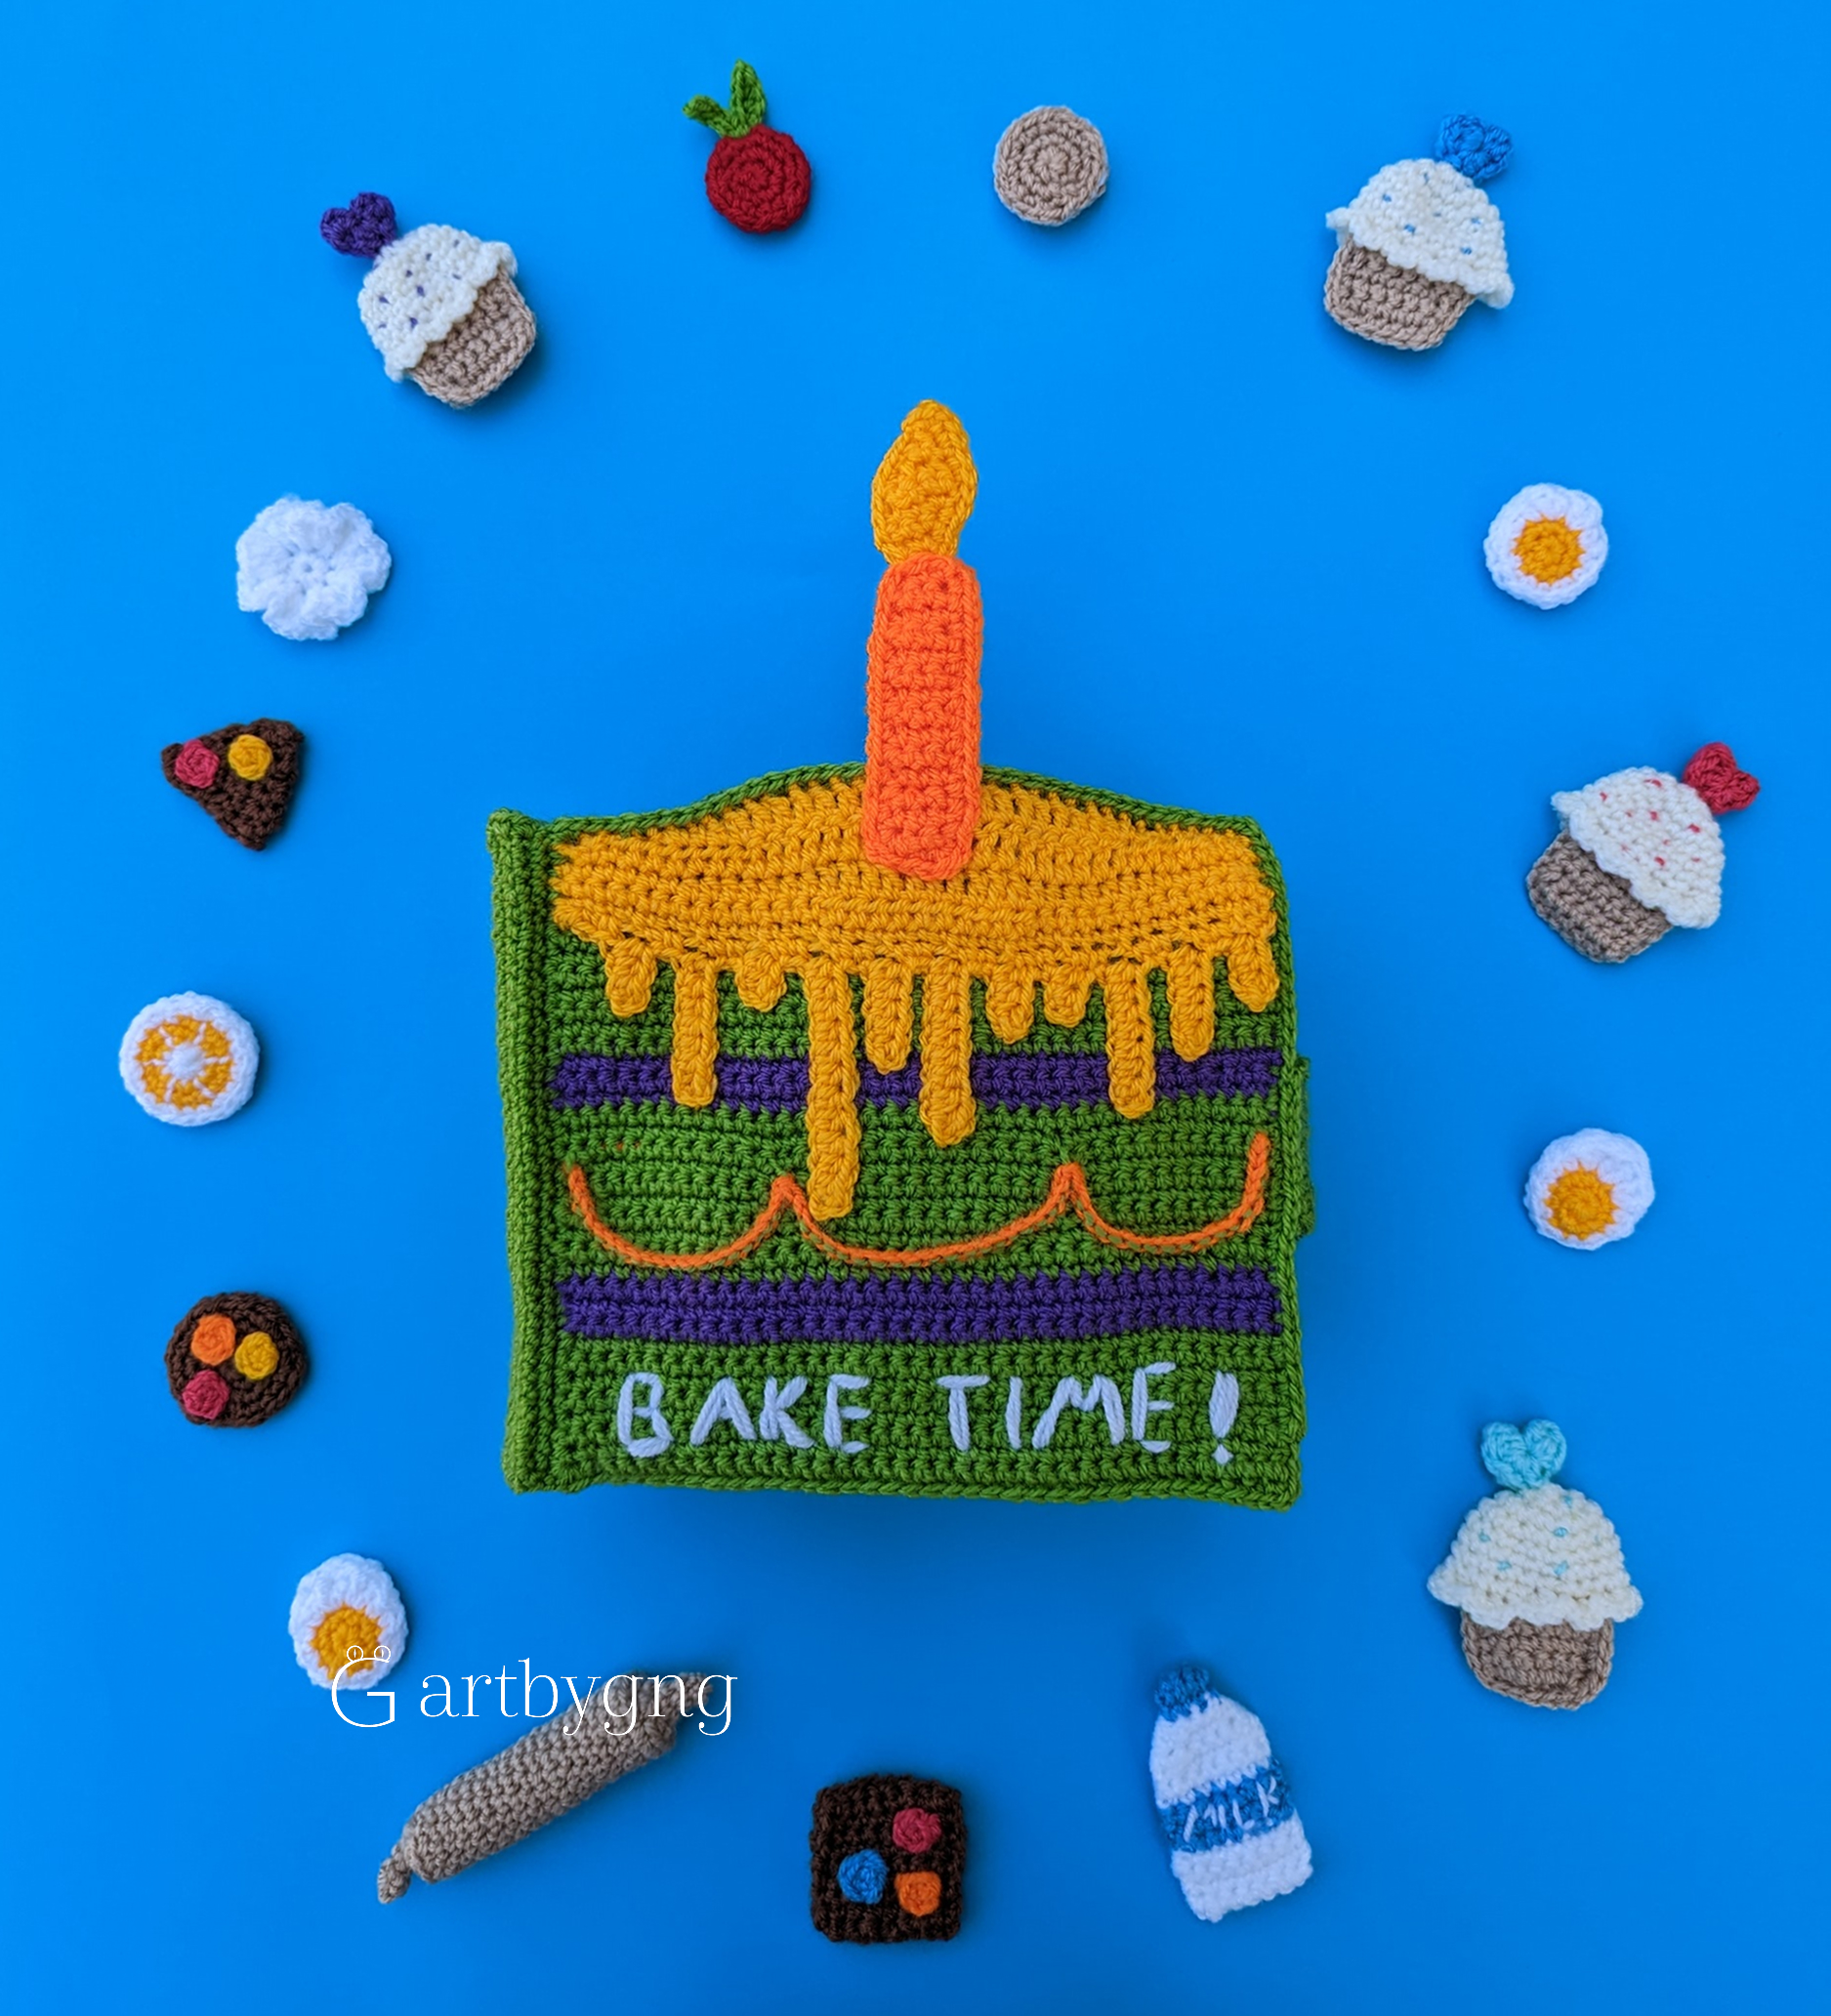
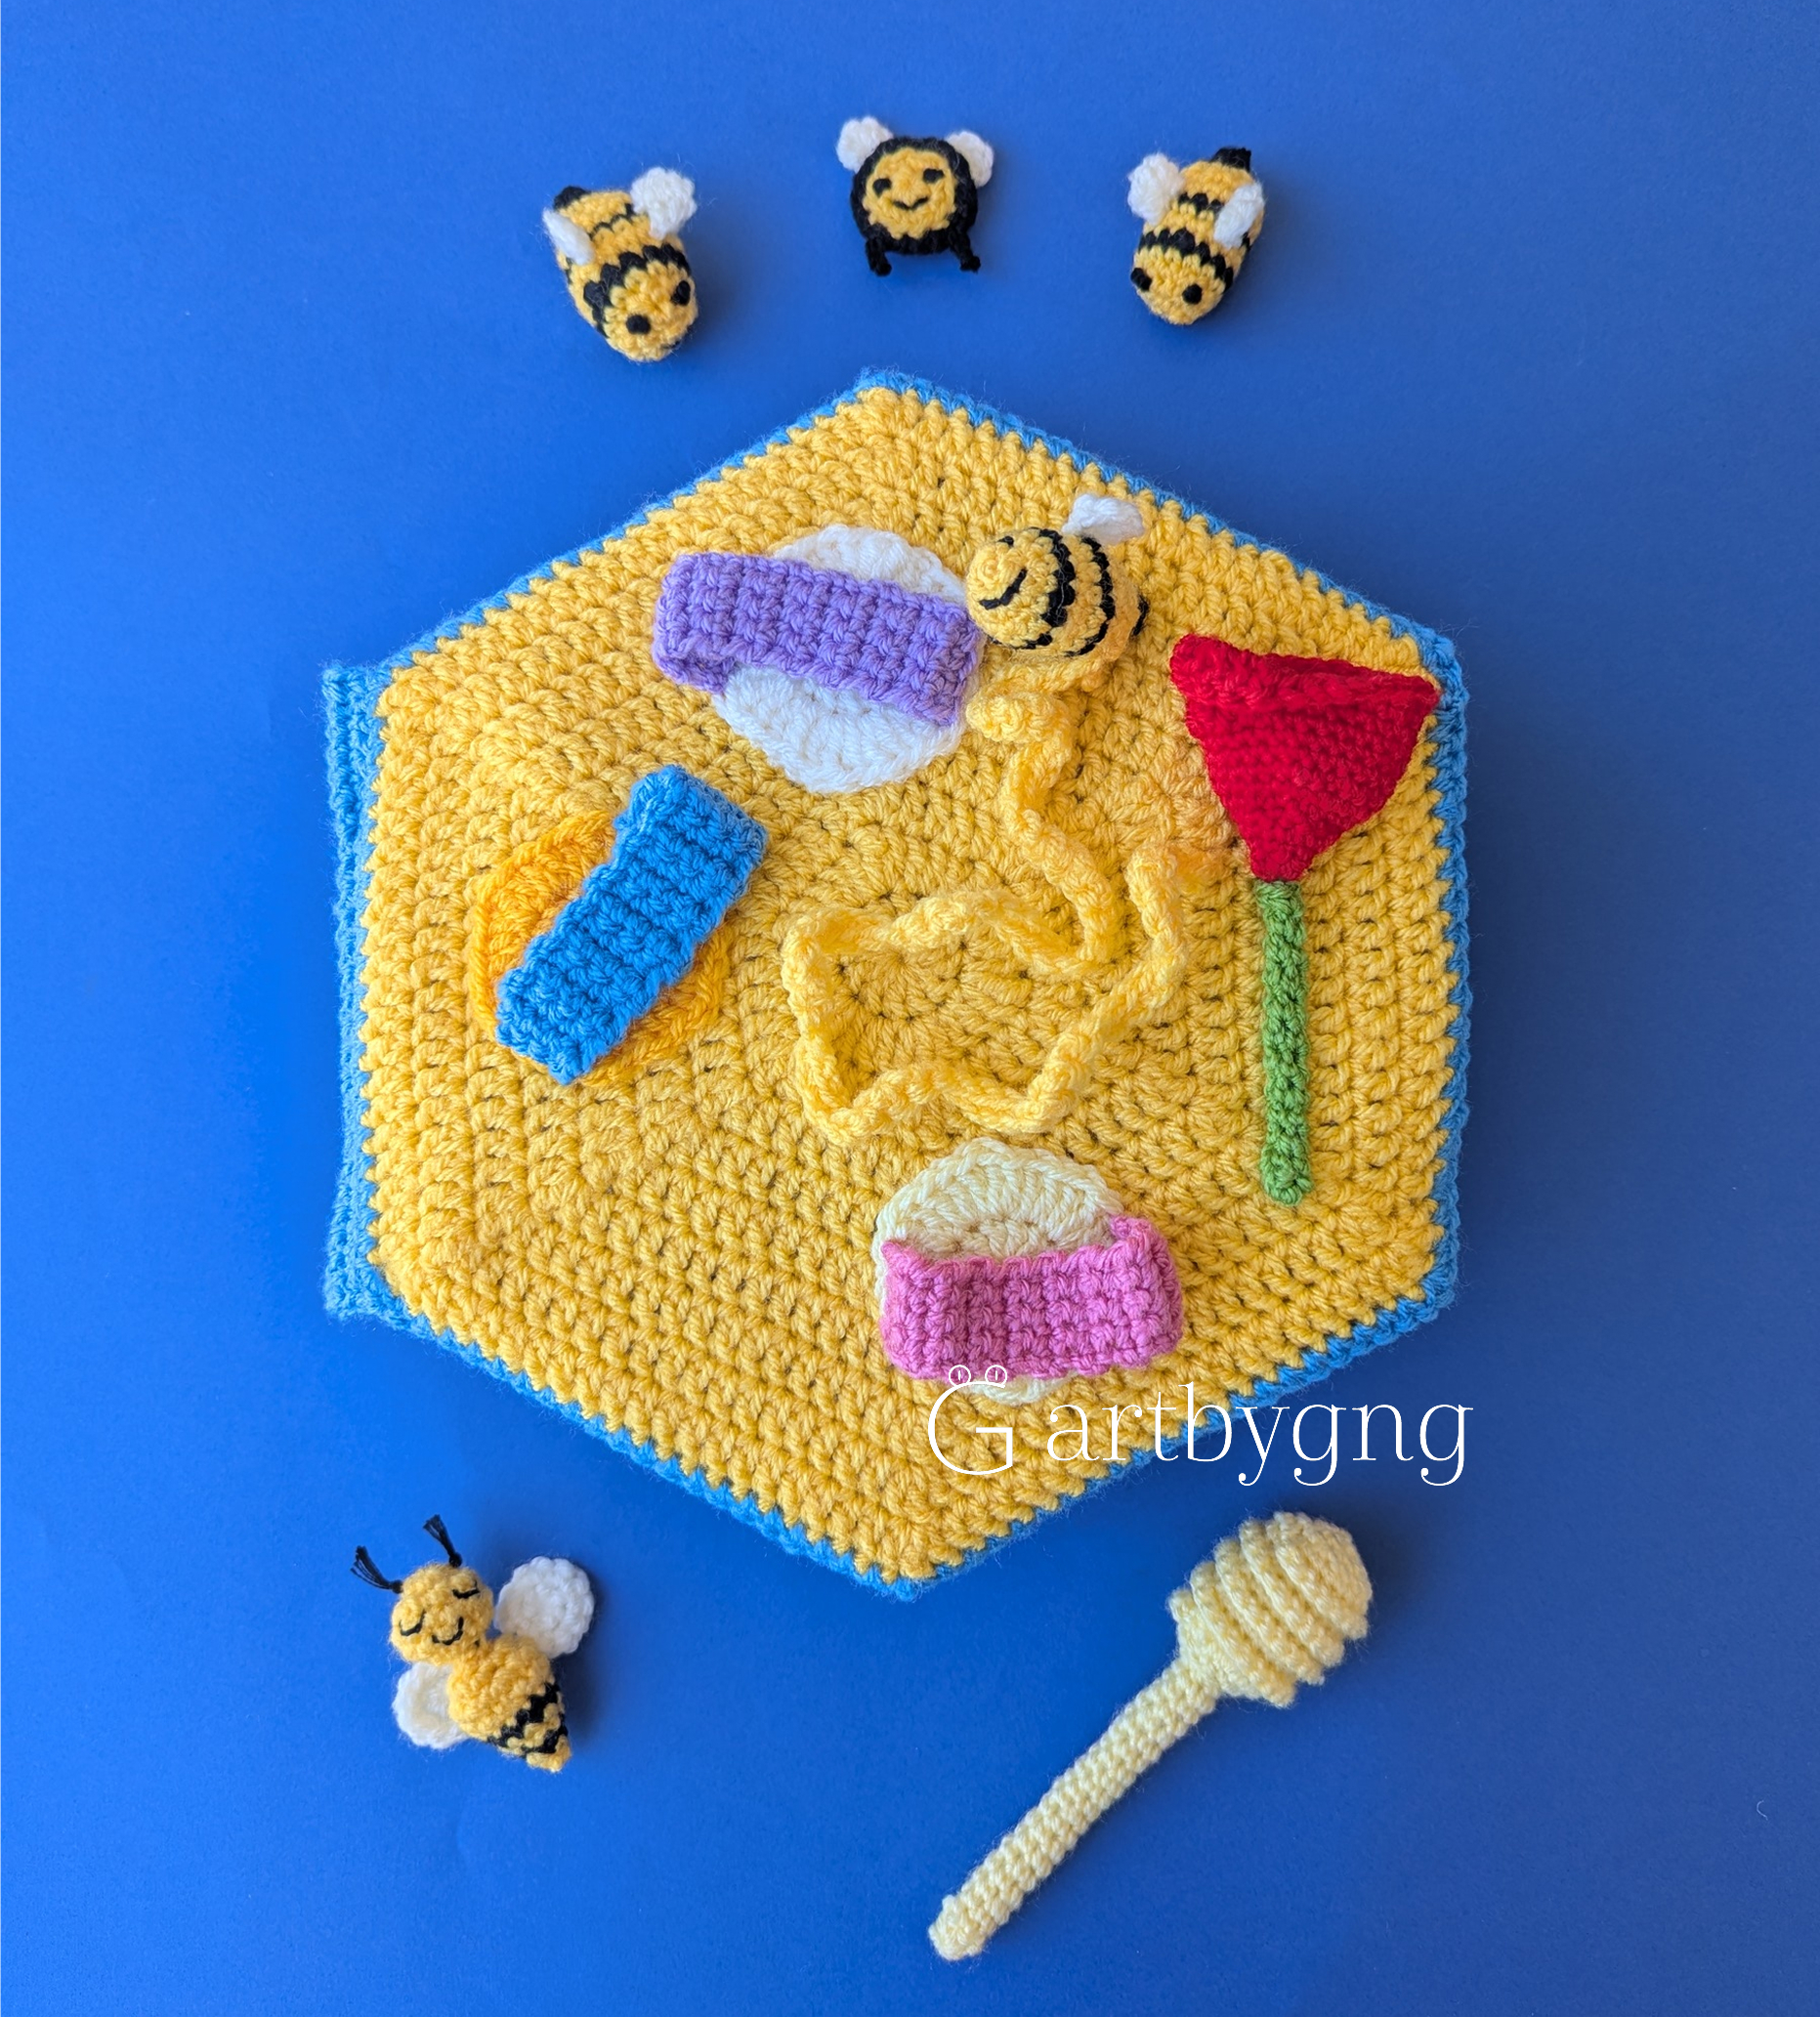
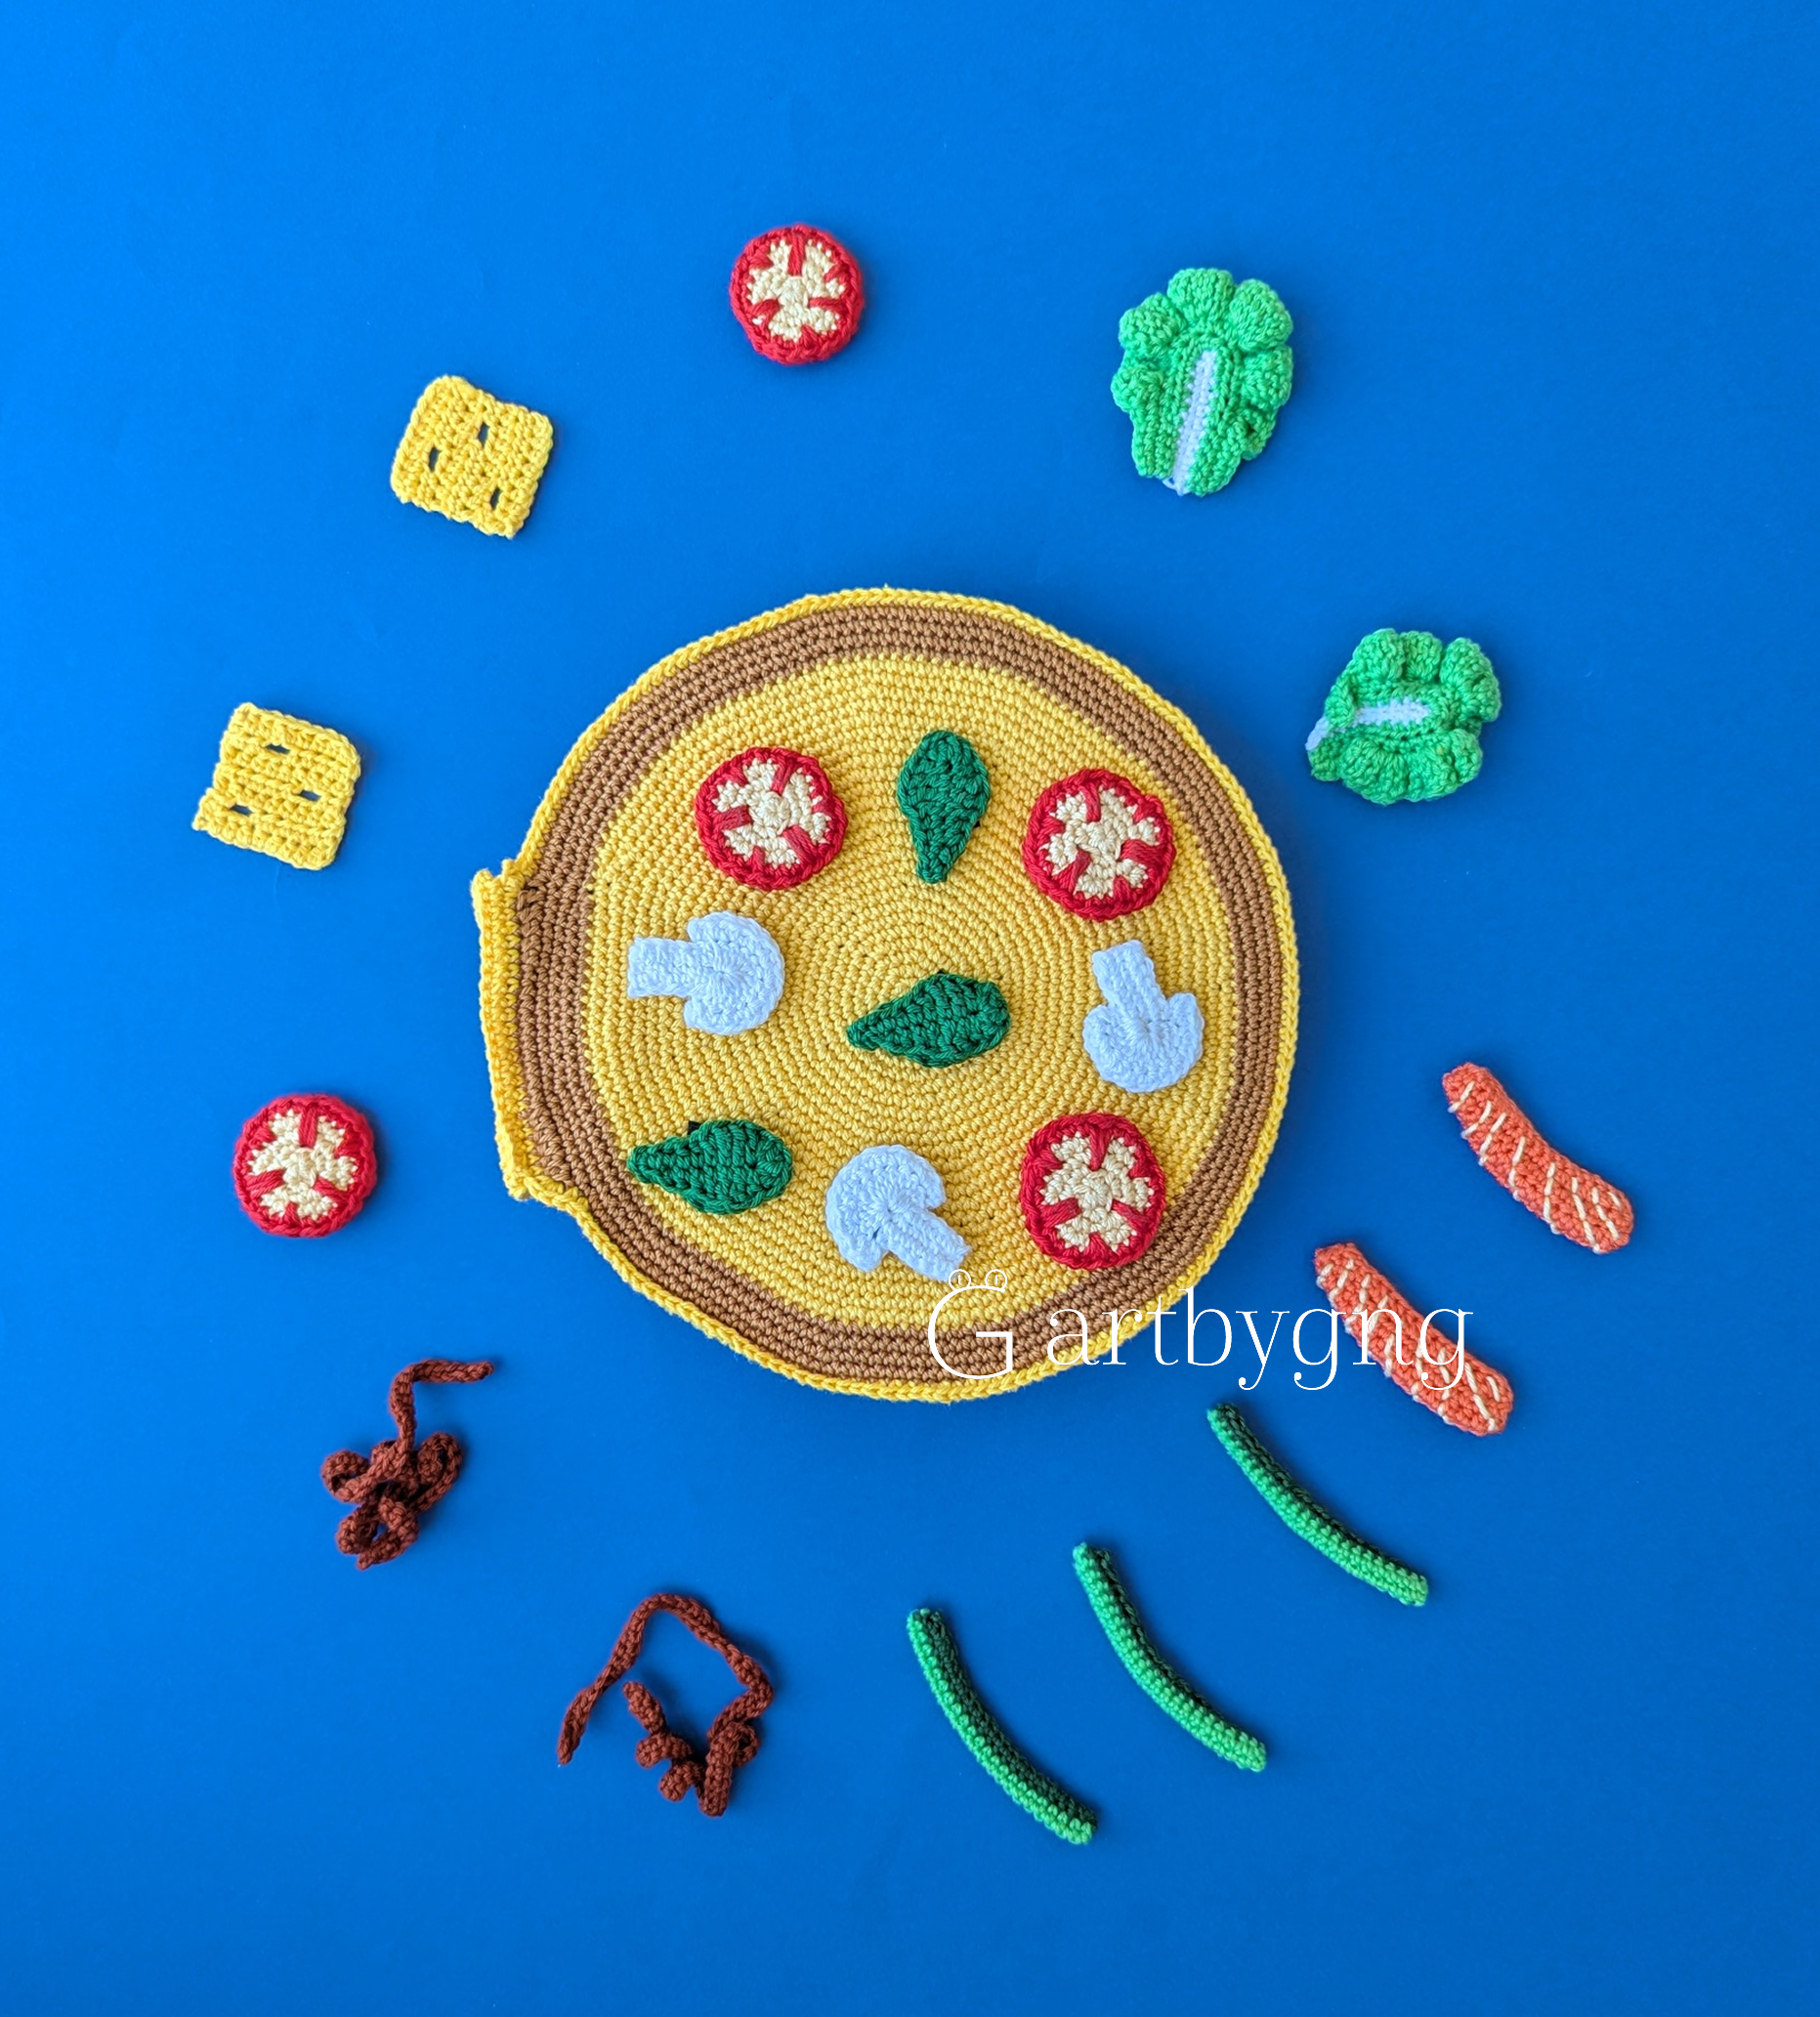
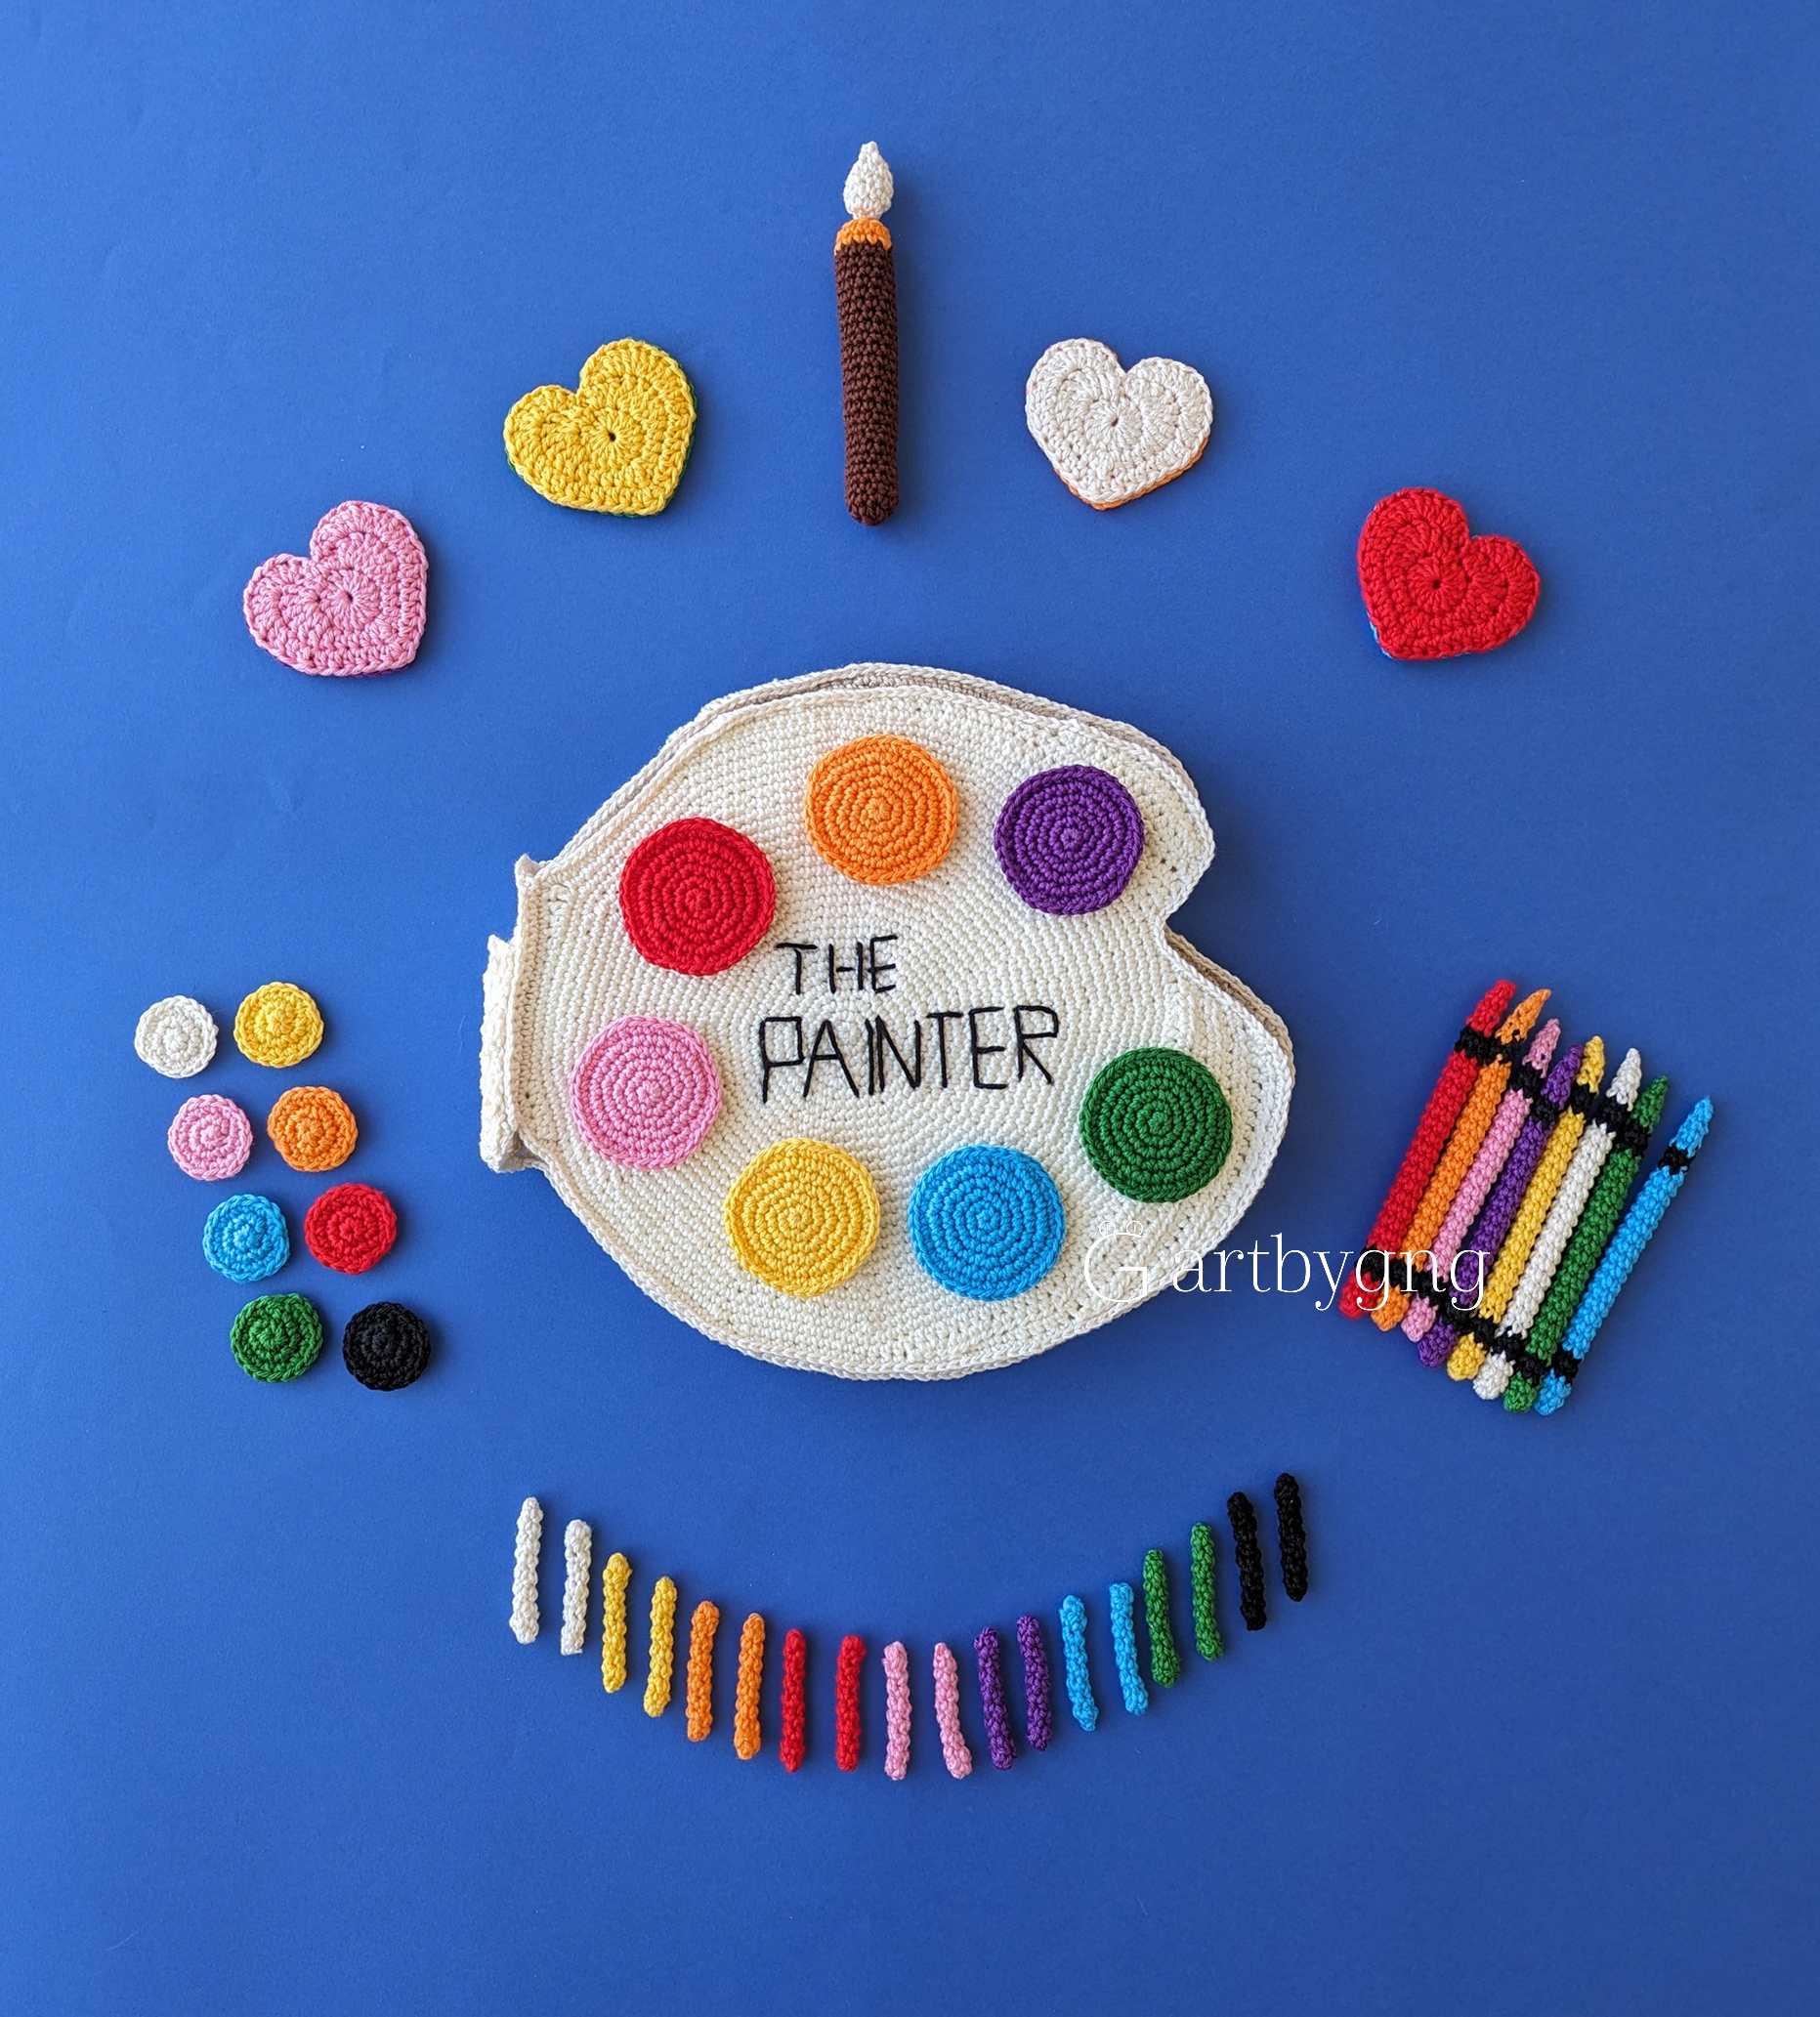
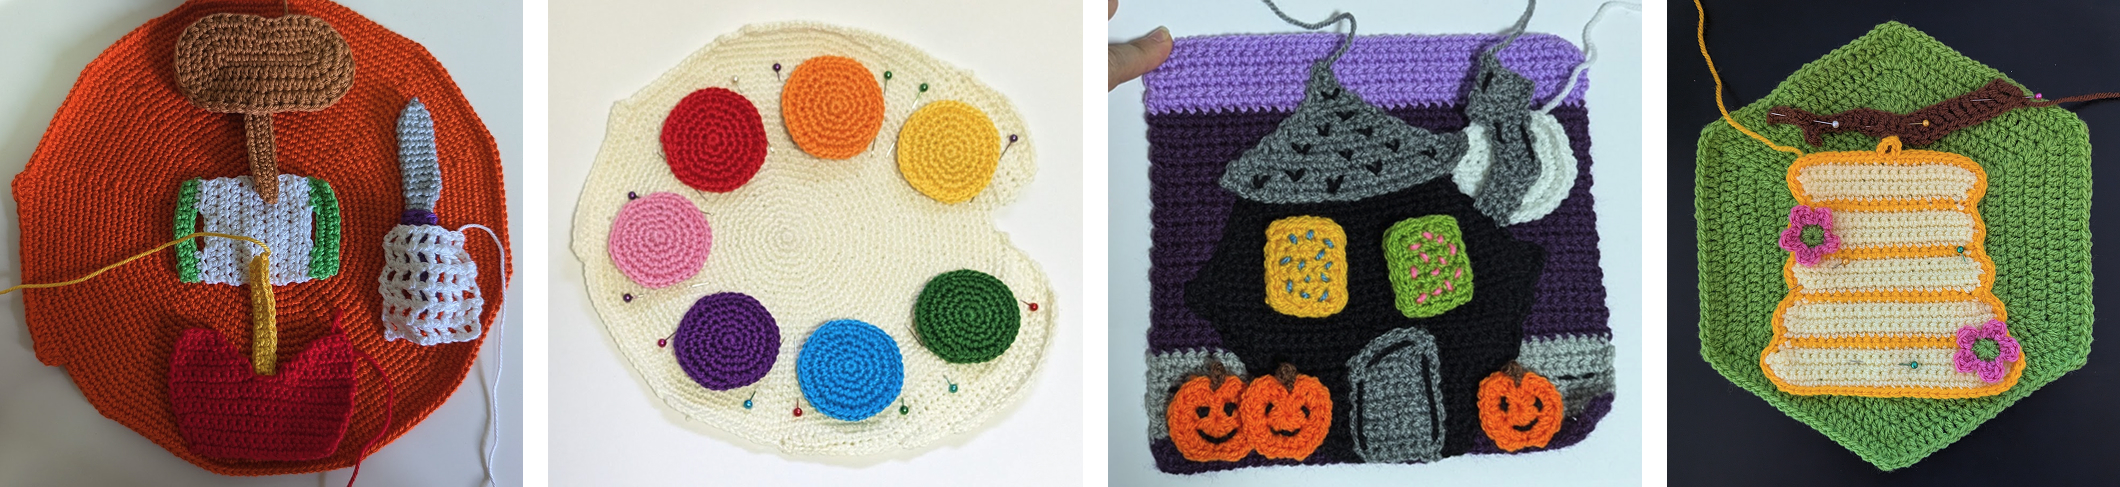
Pick a theme for the book to follow — cute animals, a princess in a castle, or whatever you want (above are some of mine - baking, Halloween, painting, and fun foods). A themed book tells a story and is easier to crochet because colors and pieces repeat across pages, so your materials go further. It also makes it easier to think of ideas for the pages. Above you can see some of the themes I’ve chosen for my book patterns.
I’d recommend aiming for six pages. It’s enough to feel like a real book, and doesn’t make your project too long.
For each page, decide what the main topic is. Which part of the theme do you want to teach about in that page? For example, baking: there are cupcakes, cake toppings, mixing the ingredients. Then think of an interaction you haven’t covered yet in the book, for example: color/shape matching, counting, fine motor skills, etc. Try thinking about which interaction matches the page topic best, then sketch out the pieces or use paper cutouts to mark their size and color. You don’t have to be great at drawing to do this, just a pencil sketch of the pieces to help you visualize the page and understand the general sizes.
*If you’d rather skip the design work entirely, this is precisely what a pattern gives you — my quiet book patterns are themed books where every page’s interaction is already play-tested.
Step 2: Crochet the base pages
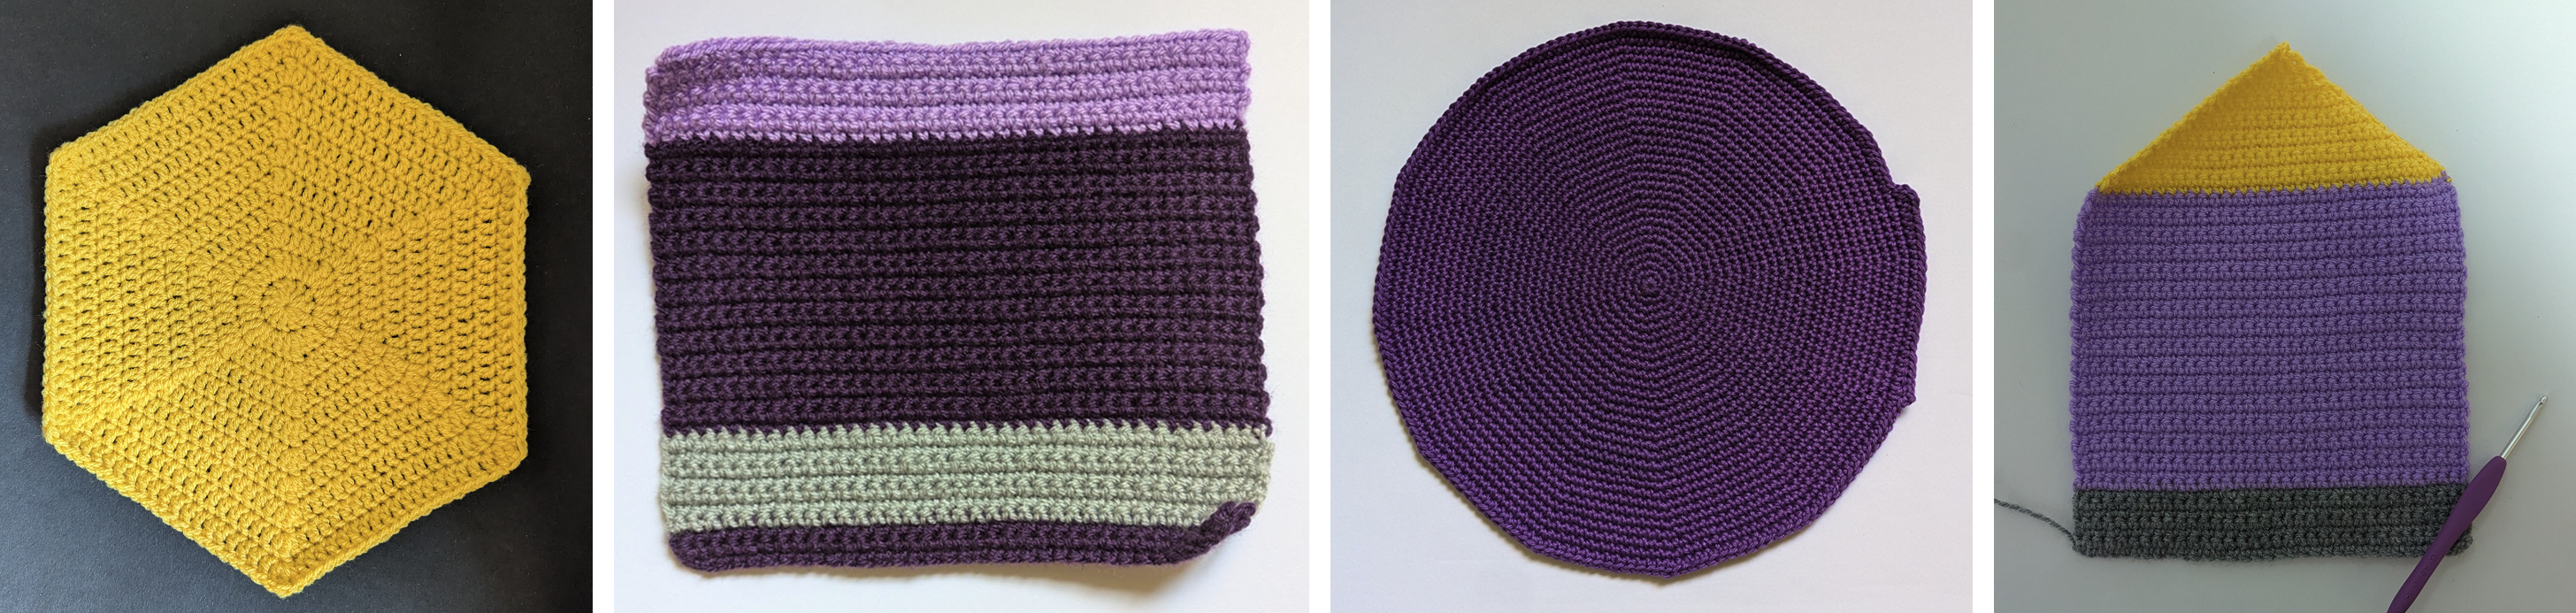
Once you have your pages sketched out, crochet the basic page shape based on the size in your sketch (see some example from my patterns above). If your pages are square, simple rows of single crochet will do, and for other shapes you either need to work in the round or use different stitches. Make all your base pages before moving on, and check them against each other as you go — matching page sizes now saves frustration at assembly time. *Sometimes different colors of the same yarn of the same brand still have differences in weight, so you may need to add/remove rows for different pages.
Two tips to make life easier:
- For pages worked in rows, work a round of single crochet border around each finished page, it evens out the edges and gives you a tidy seam line for joining later.
- Count your stitches every few rows/rounds. Page drift is the most common beginner wobble, and counting prevents all of it.
Step 3: Add the background scenes
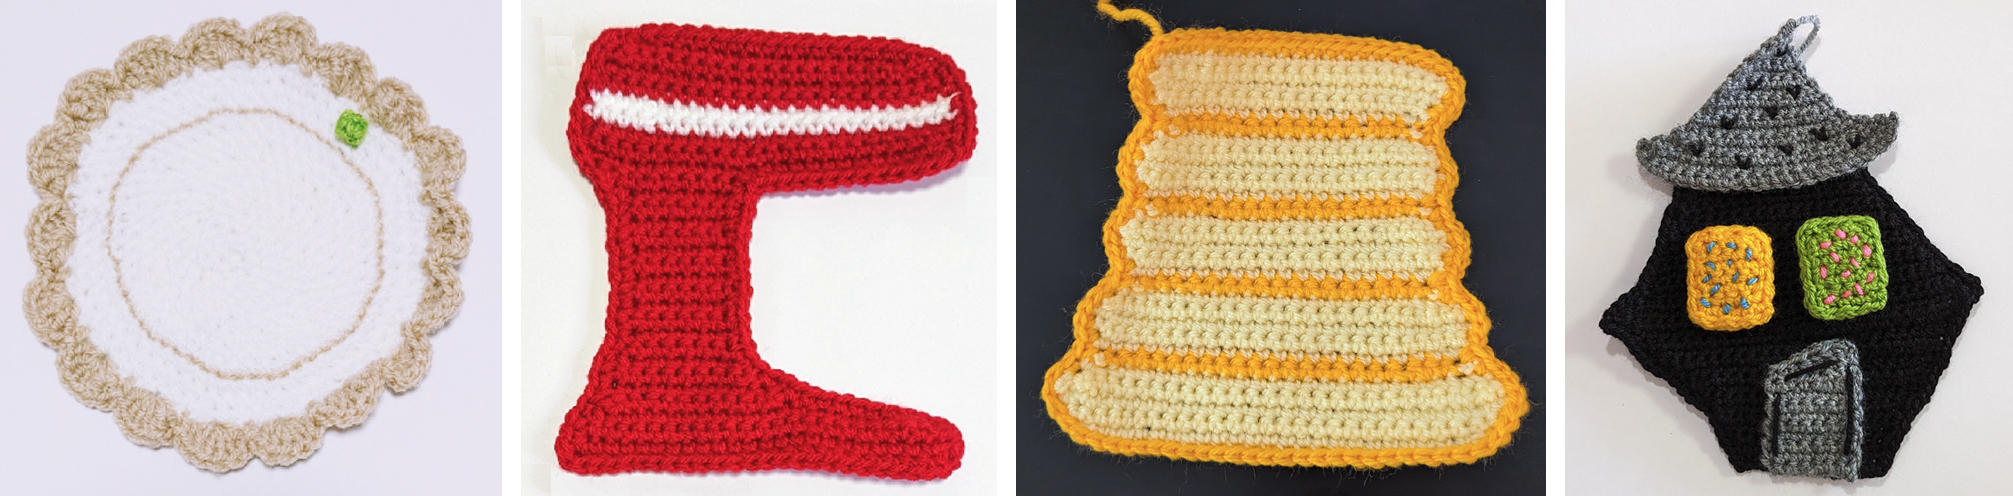
Crochet the flat appliqué shapes for each page and pin them to the page. Don’t sew them yet, because the interactive pieces may change the placement. You can see examples of those above from my own patterns - a fancy plate for a cake, a mixer which will later have moving parts, a beehive for the bees to live in, and a house for trick or treating.
This is the step where the book starts looking like something, which does wonders for motivation.
Step 4: Crochet the interactive pieces
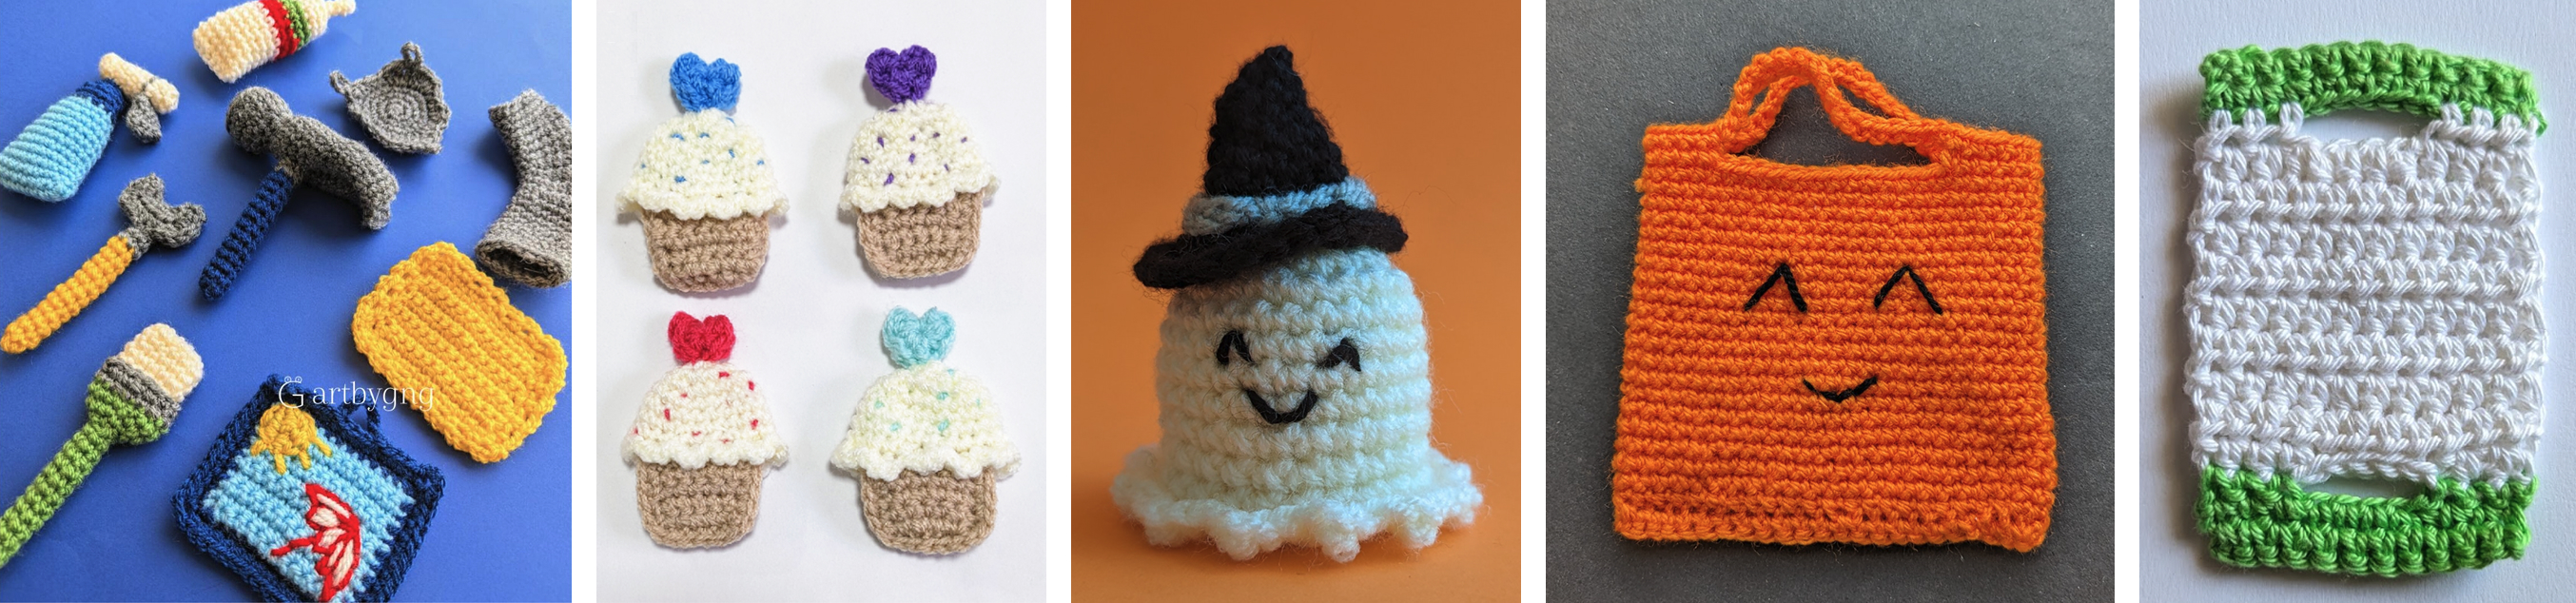
Now the fun part: the play pieces. These are small play pieces which complete the interaction style you planned. Sometimes they’ll be stuffed plushy pieces, and sometimes they’ll be flat. For the flat pieces, I recommend making two and crocheting them together for structure (especially if one side needs to have velcro attached to it). Above are different play pieces I’ve created in the patterns for my books.
Stuff the plushy pieces lightly but firmly — underfilled pieces go limp with play, overstuffed ones let filling peek through the stitches.
A tip for this step:
- There are free/paid patterns online for a lot of the pieces you’ll want to crochet, especially if they’re small and basic, like small foods and simple animals.
Step 5: Put the page together
At this point you’ll have all of your pieces ready and you can check the placement of the background scene on the page. Use the interactive pieces and make sure there’s room for them and for the interaction to take place, and adjust the placement if necessary. Now go ahead and sew the pieces to each other/to the page as needed, using the yarn colors of your choice and your tapestry needle.
Step 6: Join the pages into a book
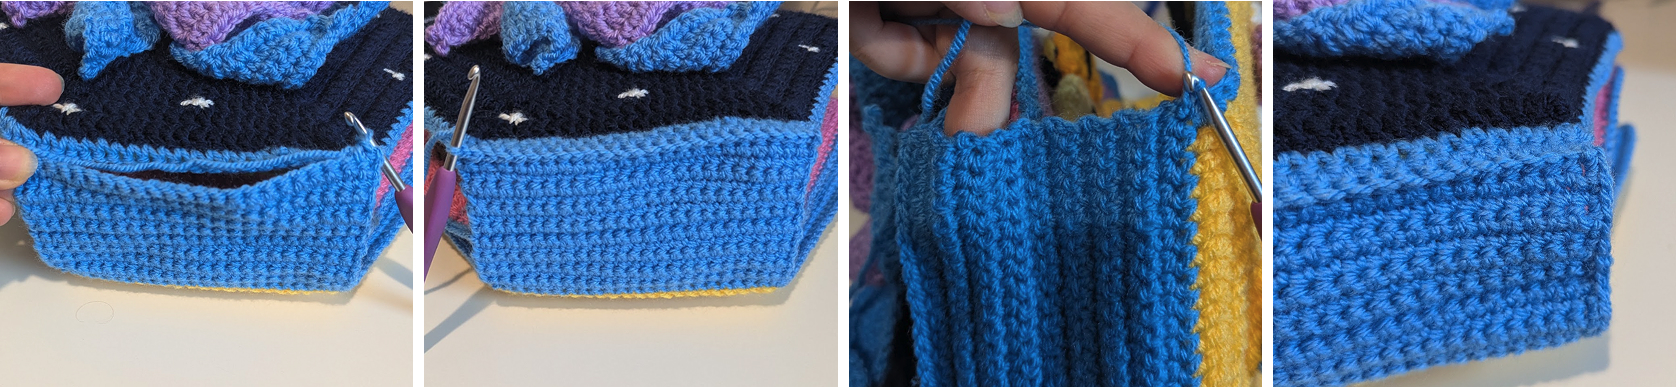 Different books might do this differently, but here's one simple way:
- Pair the pages back-to-back. Each leaf of the book is two pages held wrong-sides-together, so the book has all right sides available for play. Place the plastic embroidery sheet cut to the right shape between each pair.
- Join each pair around the edges. Single crochet or whip stitch around the page shape through both layers with the embroidery sheet between them. This also gives each leaf extra body.
- Stack the leaves and join them at the spine. Attach your yarn to one pair in one corner of where the spine would be. Single crochet through the length of the spine, turn, and continue to create rows until the spine is the height of the elements in the page. Then, place the next leaf on top, and single crochet through where the spine would be on that leaf. Continue until you have all leaves attached.
Above is an example of the finishing touches from my Busy Beehive book.
Optional finishing touches: a crocheted handle on the spine so it can be carried like a little suitcase, or a velcro strip closure to hold the book shut when not in play.
5 Beginner-Friendly Quiet Book Page Ideas
Stuck on what your pages should do? Here are five interactions that are simple to crochet and fun for play:
- Decorate the cake — a crocheted cake base with removable toppings that attach with Velcro dots. (This is the heart of my Bake Time book, my most-loved pattern.)
- Paint the picture — an easel page with paint-blob pieces to place and rearrange. (A fun and interactive page in my Painter book.)
- The bees in their beehive — flowers with a pocket hive, bees that tuck inside. (See Busy Beehive.)
- The snack pocket — a simple pocket page with crocheted play food to pack and unpack. Toddlers will do this forty times in a row. (Fun Foods pieces are perfect for it.)
- Shape matching — Crocheted pieces in different shapes which have their marked locations stitched to the page. You can find an example of this interaction in my Bake Time book.
Want more? I’ve collected 14 crochet quiet book page ideas in a full post.
Ready to Start?
That’s the whole process — plan your pages, crochet the base and the play pieces, and assemble the book. And if designing from scratch feels like more than you want to take on right now, you can start from one of my step-by-step patterns instead.