
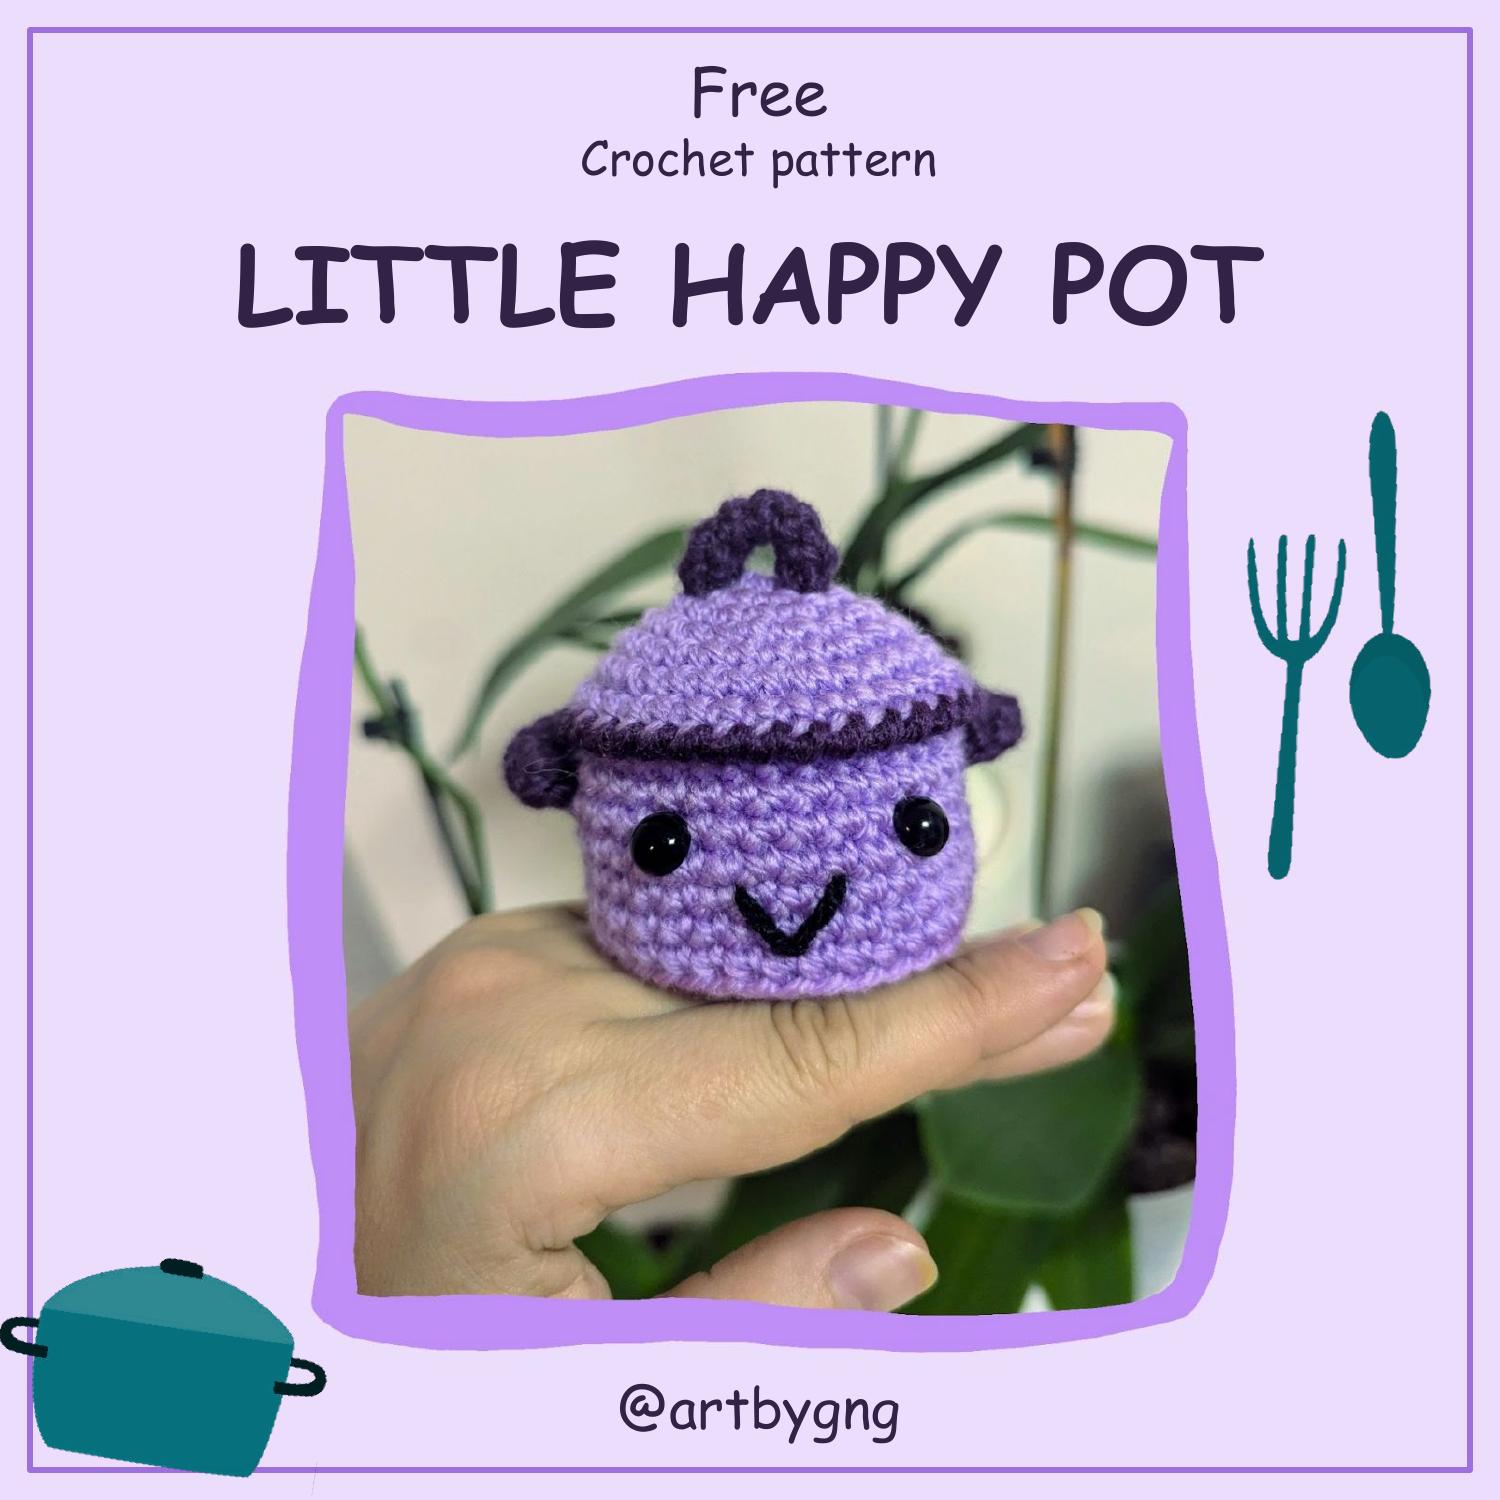
A tiny crocheted pot with a lid, three little handles, and a happy face — a quick, satisfying amigurumi make and completely free. This pattern is worked in continuous rounds and written in US crochet terms.
Notes:
- This pattern is worked in continuous rounds.
- Stitch totals are shown in [square] brackets at the end of each round.
- Repeating instructions appear in (round) brackets followed by the number of repetitions needed.
- This pattern is written in US crochet terms.
Materials
- Yarn in 2 colors, plus black for the mouth
- A hook to match your yarn (I used 3.5mm with Teddy’s Classic yarn)
- Safety eyes (I used 0.8 mm)
- Fiberfill
- Tapestry needle
Crochet terms used
- stitch (st)
- slip stitch (slst)
- single crochet (sc)
- reverse single crochet
- increase (inc)
- magic ring
- round (rnd)
- front loop only (FLO)
- back loop only (BLO)
Pot body
Rnd 1: 6 sc in a magic ring [6]
Rnd 2: 6 inc [12]
Rnd 3: (sc, inc) repeat 6 times [18]
Rnd 4: (sc, inc, sc) repeat 6 times [24]
Rnd 5: (3 sc, inc) repeat 6 times [30]
Rnd 6: (2 sc, inc, 2 sc) repeat 6 times [36]
Rnd 7: BLO 36 sc [36]
Rnd 8 - 13: 36 sc [36]
Slst to close. Fasten off leaving a long tail for sewing.
Cut a plastic embroidery sheet into a circle and place it in the bottom of the pot.
Insert the eyes between round 10 and 11 with 6 st between them.
Embroider the mouth.
Handles (make 3)
Rnd 1: 4 sc in a magic ring [4]
Rnd 2 - 7: 4 sc [4]
Weave in the yarn tail in the back loops of the last 4 st and pull to close.
Fasten off leaving a long tail for sewing.
Sew 2 of the handles opposite each other on round 12, with 2 st between the two ends of the handle.
The handles should be placed so that the face is in the middle.
Pot lid
Rnd 1: 6 sc in a magic ring [6]
Rnd 2: 6 inc [12]
Rnd 3: (sc, inc) repeat 6 times [18]
Rnd 4: (sc, inc, sc) repeat 6 times [24]
Rnd 5: (3 sc, inc) repeat 6 times [30]
Rnd 6: (2 sc, inc, 2 sc) repeat 6 times [36]
Rnd 7: FLO 36 sc [36]
Change to the second color
Rnd 8: 36 reverse sc [36]
Slst to close, fasten off, and tuck in the loose ends.
Sew the third handle to the lid, in the two opposite ends of row 2.
Putting the pot together
Stuff the pot with fiberfill (not too tight).
Use the long tail from the pot to sew it to the loops created by round 7 of the lid.
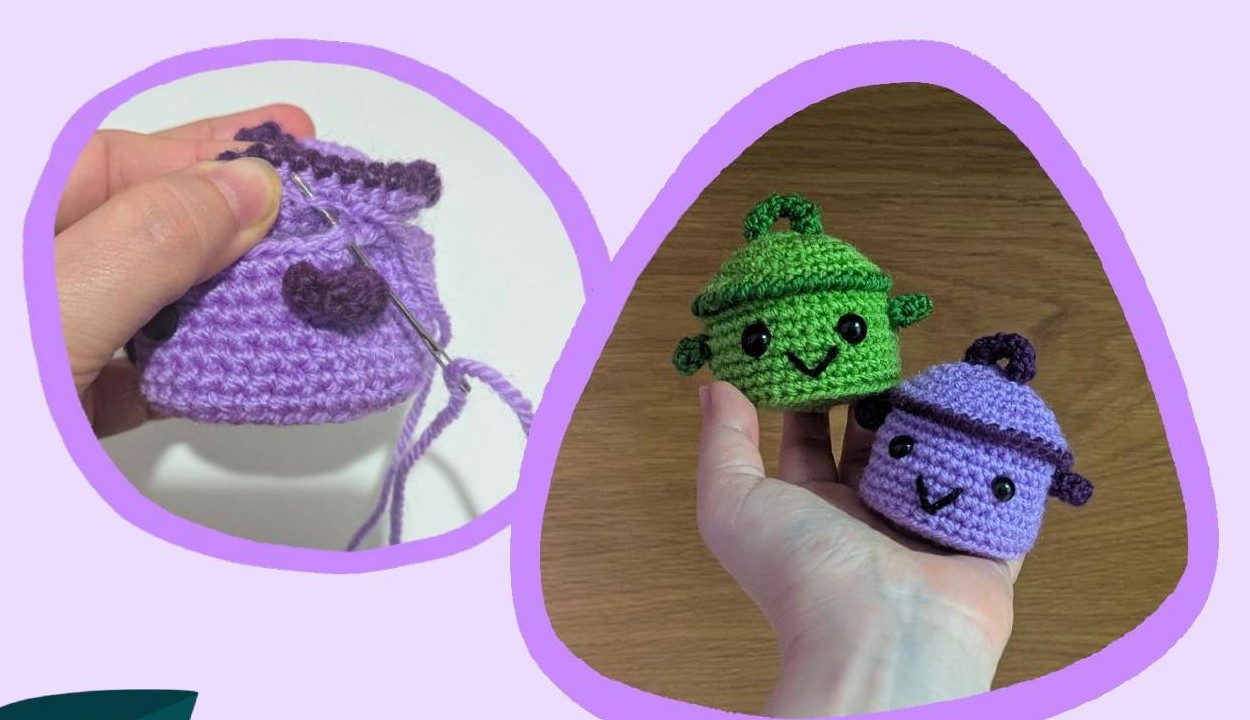
All done!
I hope you enjoyed this pattern 💜 I’d love to see your Little Happy Pot creations, so please tag @artbygng if you post them! Have any questions? Feel free to reach out.
If you enjoyed this quick make, browse my full crochet quiet book patterns for a bigger project.