You can think of reading a crochet pattern like reading a recipe. Just like a recipe describes the materials needed and the steps to follow to complete it, a pattern will tell you what materials you’ll need and give you a detailed list of steps in order to create the final product. I know that a written pattern can look intimidating the first few times, but it is mostly the abbreviations that make it seem hard. In this post I’ll walk you through all of it .
If you’ve been hovering over a PDF pattern thinking “but what if I can’t follow it?” — this is for you.
What’s Actually Inside a Crochet Pattern
A good crochet pattern will provide you with:
- A materials list — the yarn type and amounts, hook size, and extra materials (like fiberfill, verlco, and more). There’s a version of this you can check out in what you need before you start.
- An abbreviations key — every shorthand term the pattern uses, defined. Some stitches have more than one abbreviation, so the pattern should list which ones it is using.
- The instructions — line-by-line steps explaining what stitches to use and how many. They’ll also explain how pieces need to be attached to each other and how to finish off pieces.
- Photos — in a photo-guided pattern there’ll be an image of what your work should look like at each stage, so you can check yourself as you go.
Learning the abbreviations can seem a little daunting, but they make a lot of sense once you get used to them and become like another language you speak fluently.
What does a pattern look like?
Here’s an example of some pattern instructions from my Busy beehive pattern:
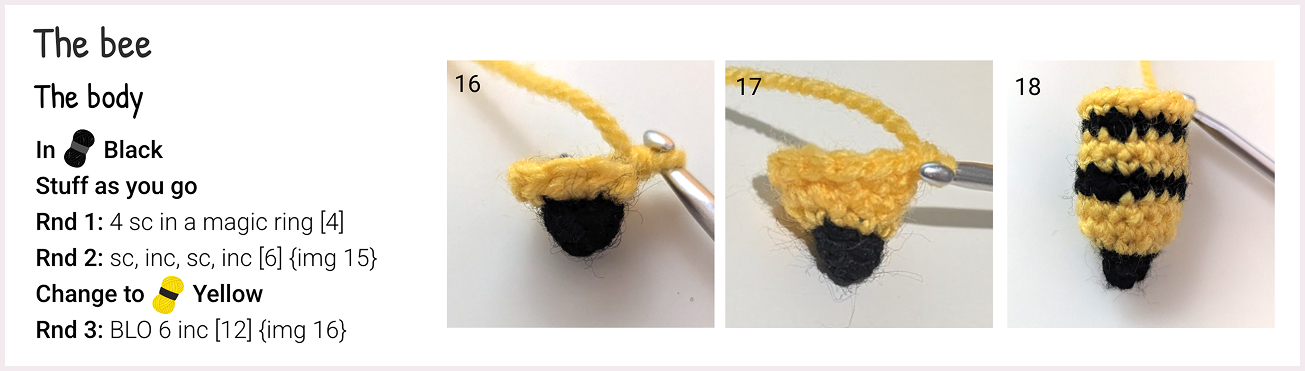
Before we break down the pattern lines, let’s take a look at the abbreviations and instruction types:
Crochet Abbreviations: The Shorthand, Decoded
Now I’m sure you’re wondering about the different stitches and what they mean (and why we need them? 🤔)
Crochet abbreviations exist because writing “work one single crochet into each of the next six stitches” forty times would make patterns unreadable. So we have these abbreviations and general informal rules about how to use them.
When you read a pattern in English, it’s important to notice whether it’s using US or UK terms.
Here’s a chart explaining the abbreviations and connection between the two for the more common stitches:
| US term | US abbr | UK abbr | UK term | |
|---|---|---|---|---|
| chain | ch | = | ch | chain |
| stitch(es) | st(s) | = | st(s) | stitch(es) |
| slip stitch | sl st | = | sl st | slip stitch |
| single crochet | sc | = | dc | double crochet |
| half double crochet | hdc | = | htr | half treble crochet |
| double crochet | dc | = | tr | treble crochet |
| treble/triple crochet | tr | = | dtr | double treble crochet |
| double treble crochet | dtr | = | trtr / dtr | triple treble crochet |
| yarn over | YO | = | YOH | yarn over hook |
| skip | SK | = | Miss |
One thing to notice: US and UK patterns use the same words for different stitches. For example, notice in the table above that a UK “dc” (double crochet) is a US “sc” (single crochet). The pattern should state which system it uses — check that line before you start to avoid mistakes.
Rounds vs. Rows
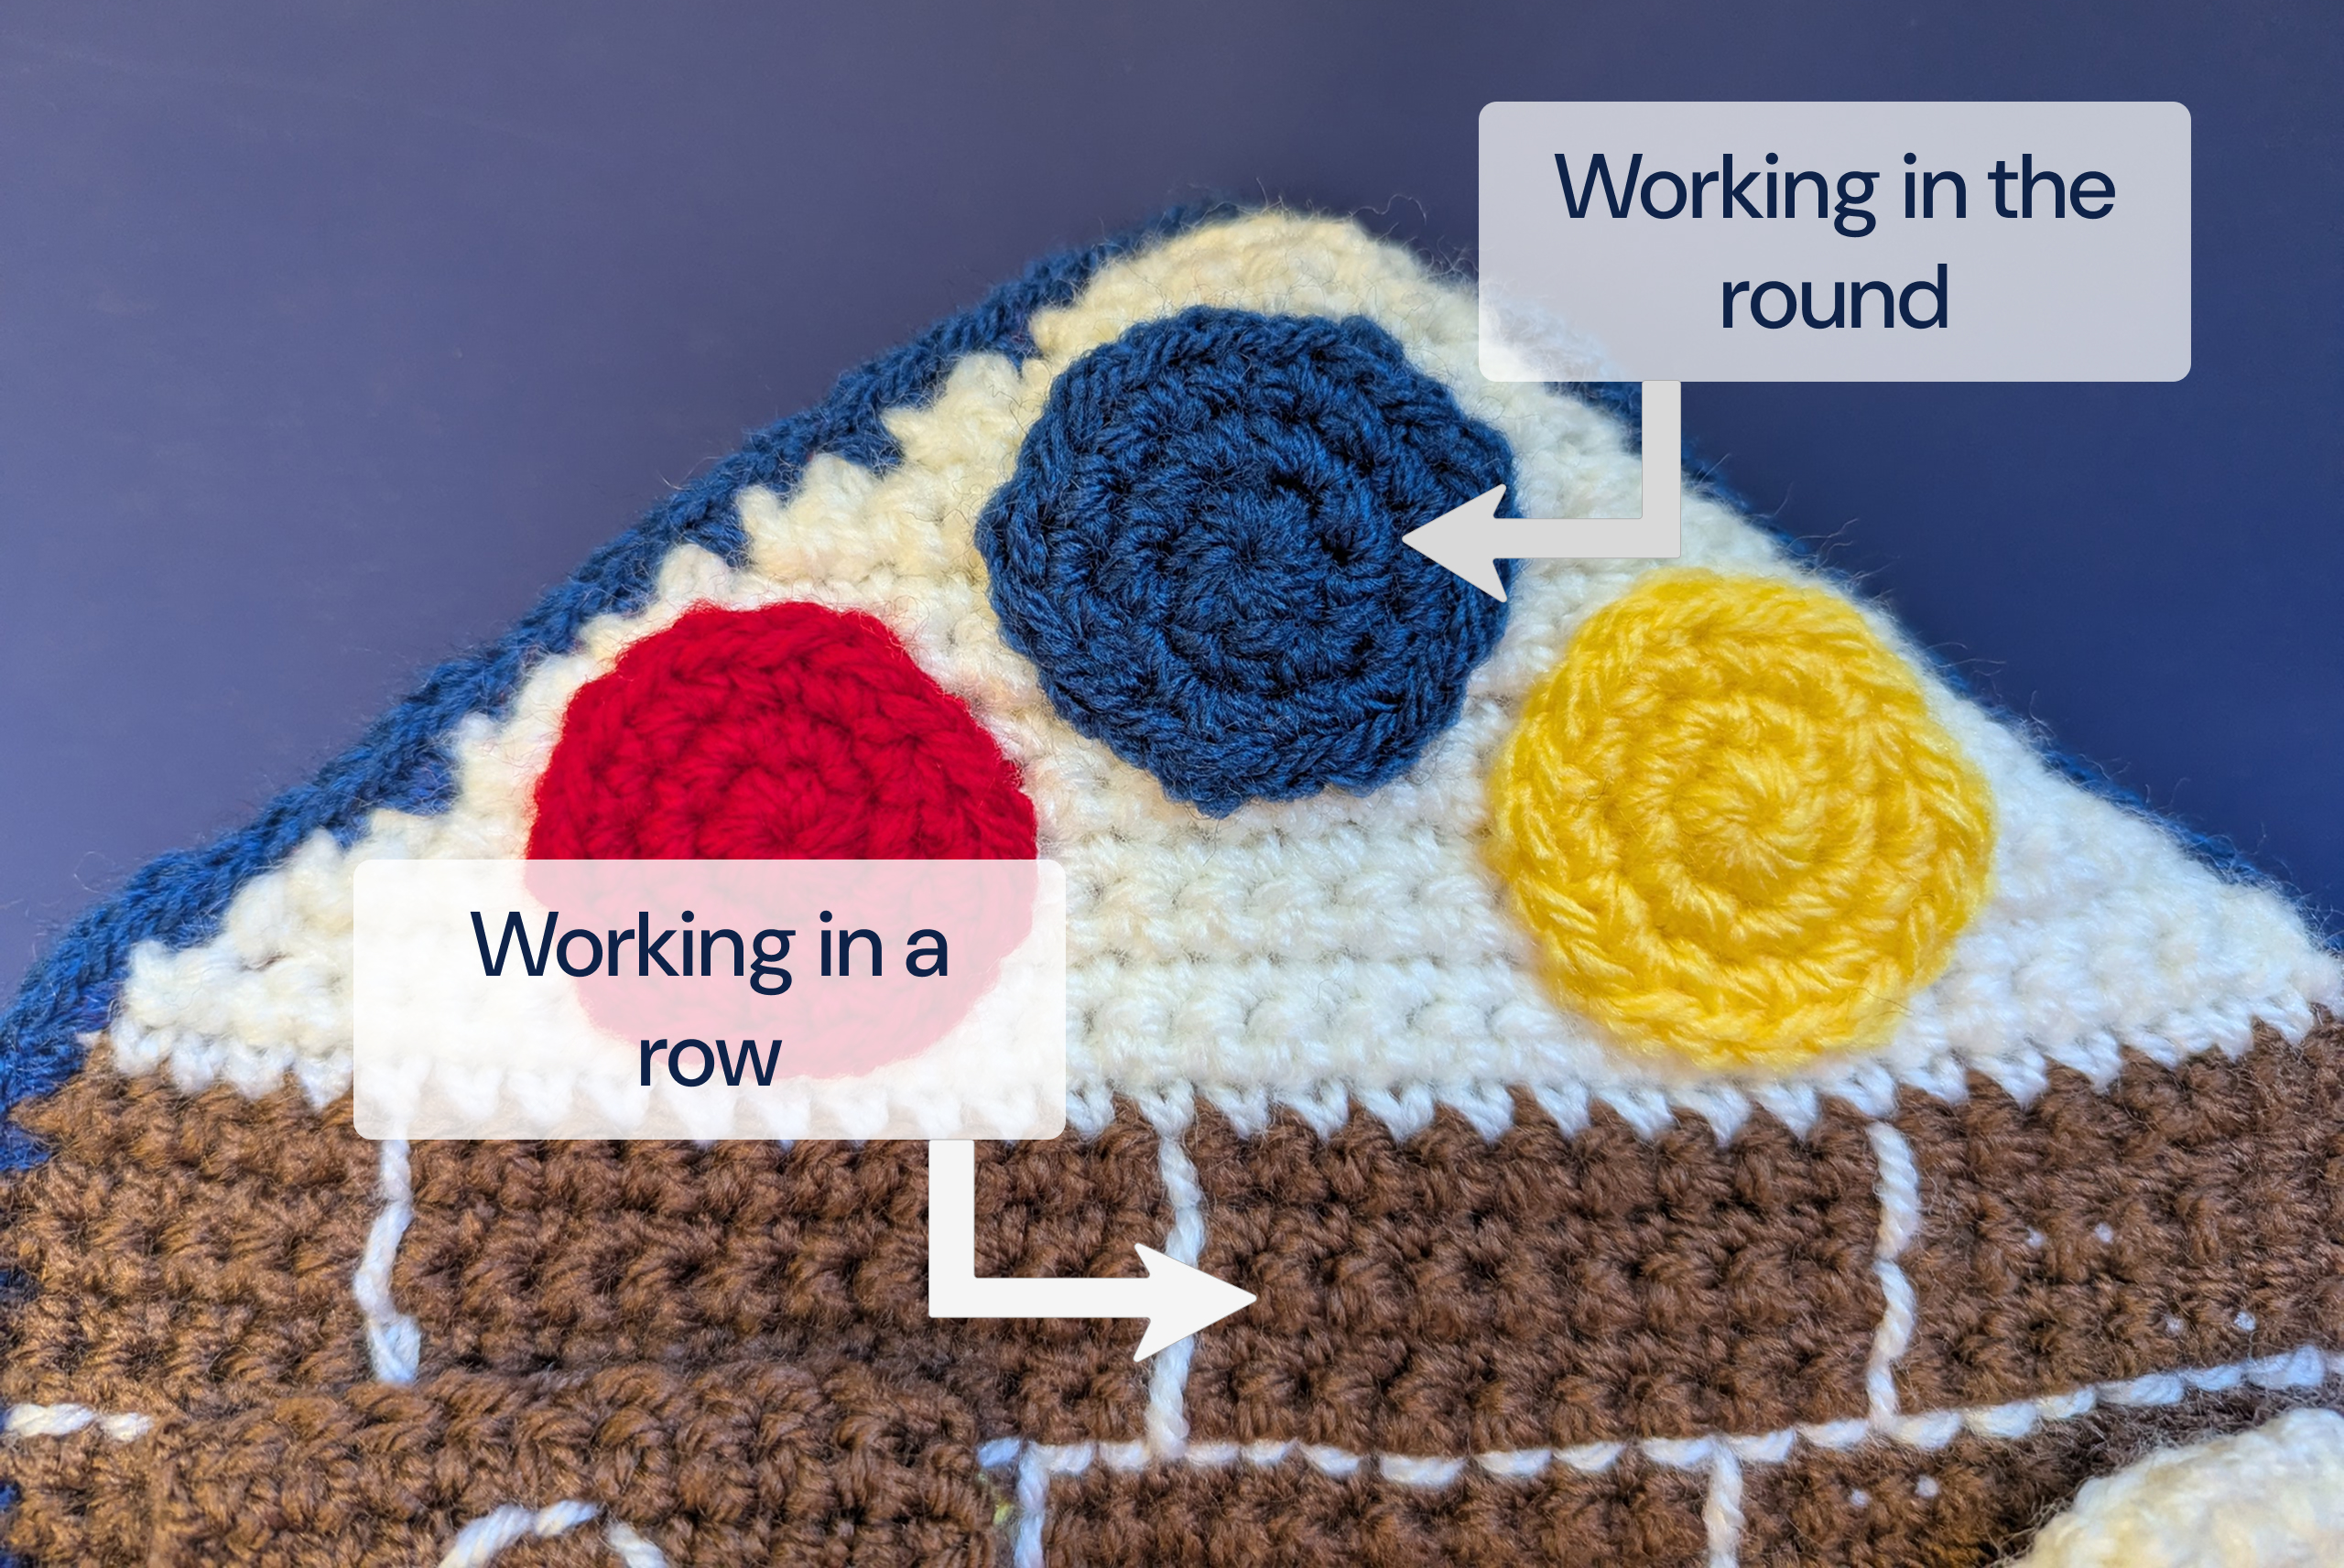
Crochet is almost always worked in rows or rounds. What’s the difference?
- Rows are worked back and forth, turning your work at the end of each line to create flat pieces which will usually be rectangular/square. Great for scarves, blankets, or pages in a quiet book!
- Rounds are worked continuously in a circle or tube without turning, forming seamless 3D items like hats, bags, and amigurumi. Working in the round can also produce flat circles. If a pattern line ever confuses you, first check whether you’re in rows or rounds — in my experience that’s behind half of all “I’m lost” moments.
How to Read a Pattern Line
Let’s read the opening of a real amigurumi-style piece. Many sphere-like pieces begin like this, whether it’s a cherry, a bee, or an egg:
Rnd 1: 6 sc in MR [6]
Rnd 2: inc x 6 [12]
Rnd 3: (sc, inc) x 6 [18]
Line by line:
- Rnd 1: 6 sc in MR [6] — Make a magic ring and work 6 single crochets into it. The number in the square brackets is your stitch count: when the round is done, you should have 6 stitches.
- Rnd 2: inc x 6 [12] — Work an increase (2 sc in one stitch) into every stitch in the previous round.
x 6means repeat that six times. You end with 12 stitches. - Rnd 3: (sc, inc) x 6 [18] — The parentheses group a repetitive sequence: one single crochet, then one increase. Repeat the whole group six times. You end with 18.
That breaks down a lot of the grammar you’ll see in written patterns. There may be differen types of stitches, and different designers might use different parentheses or grouping, but this is pretty much the jist. In most patterns the grammer used will be stated in the beginning, so you know how to read the pattern correctly.
Why I add as many photos as I can to my patterns
It’s been said that a picture is worth a thousand words, and I believe that is especially true in crochet patters. I’ve had to give up on patterns in the past because no matter how much I tried to understand the written instructions, they just didn’t make sense and there was no process photo.
When there are pictures to walk you through the process you know very quickly if you made a mistake or misunderstood, and you can course-correct much quicker and not waste time.
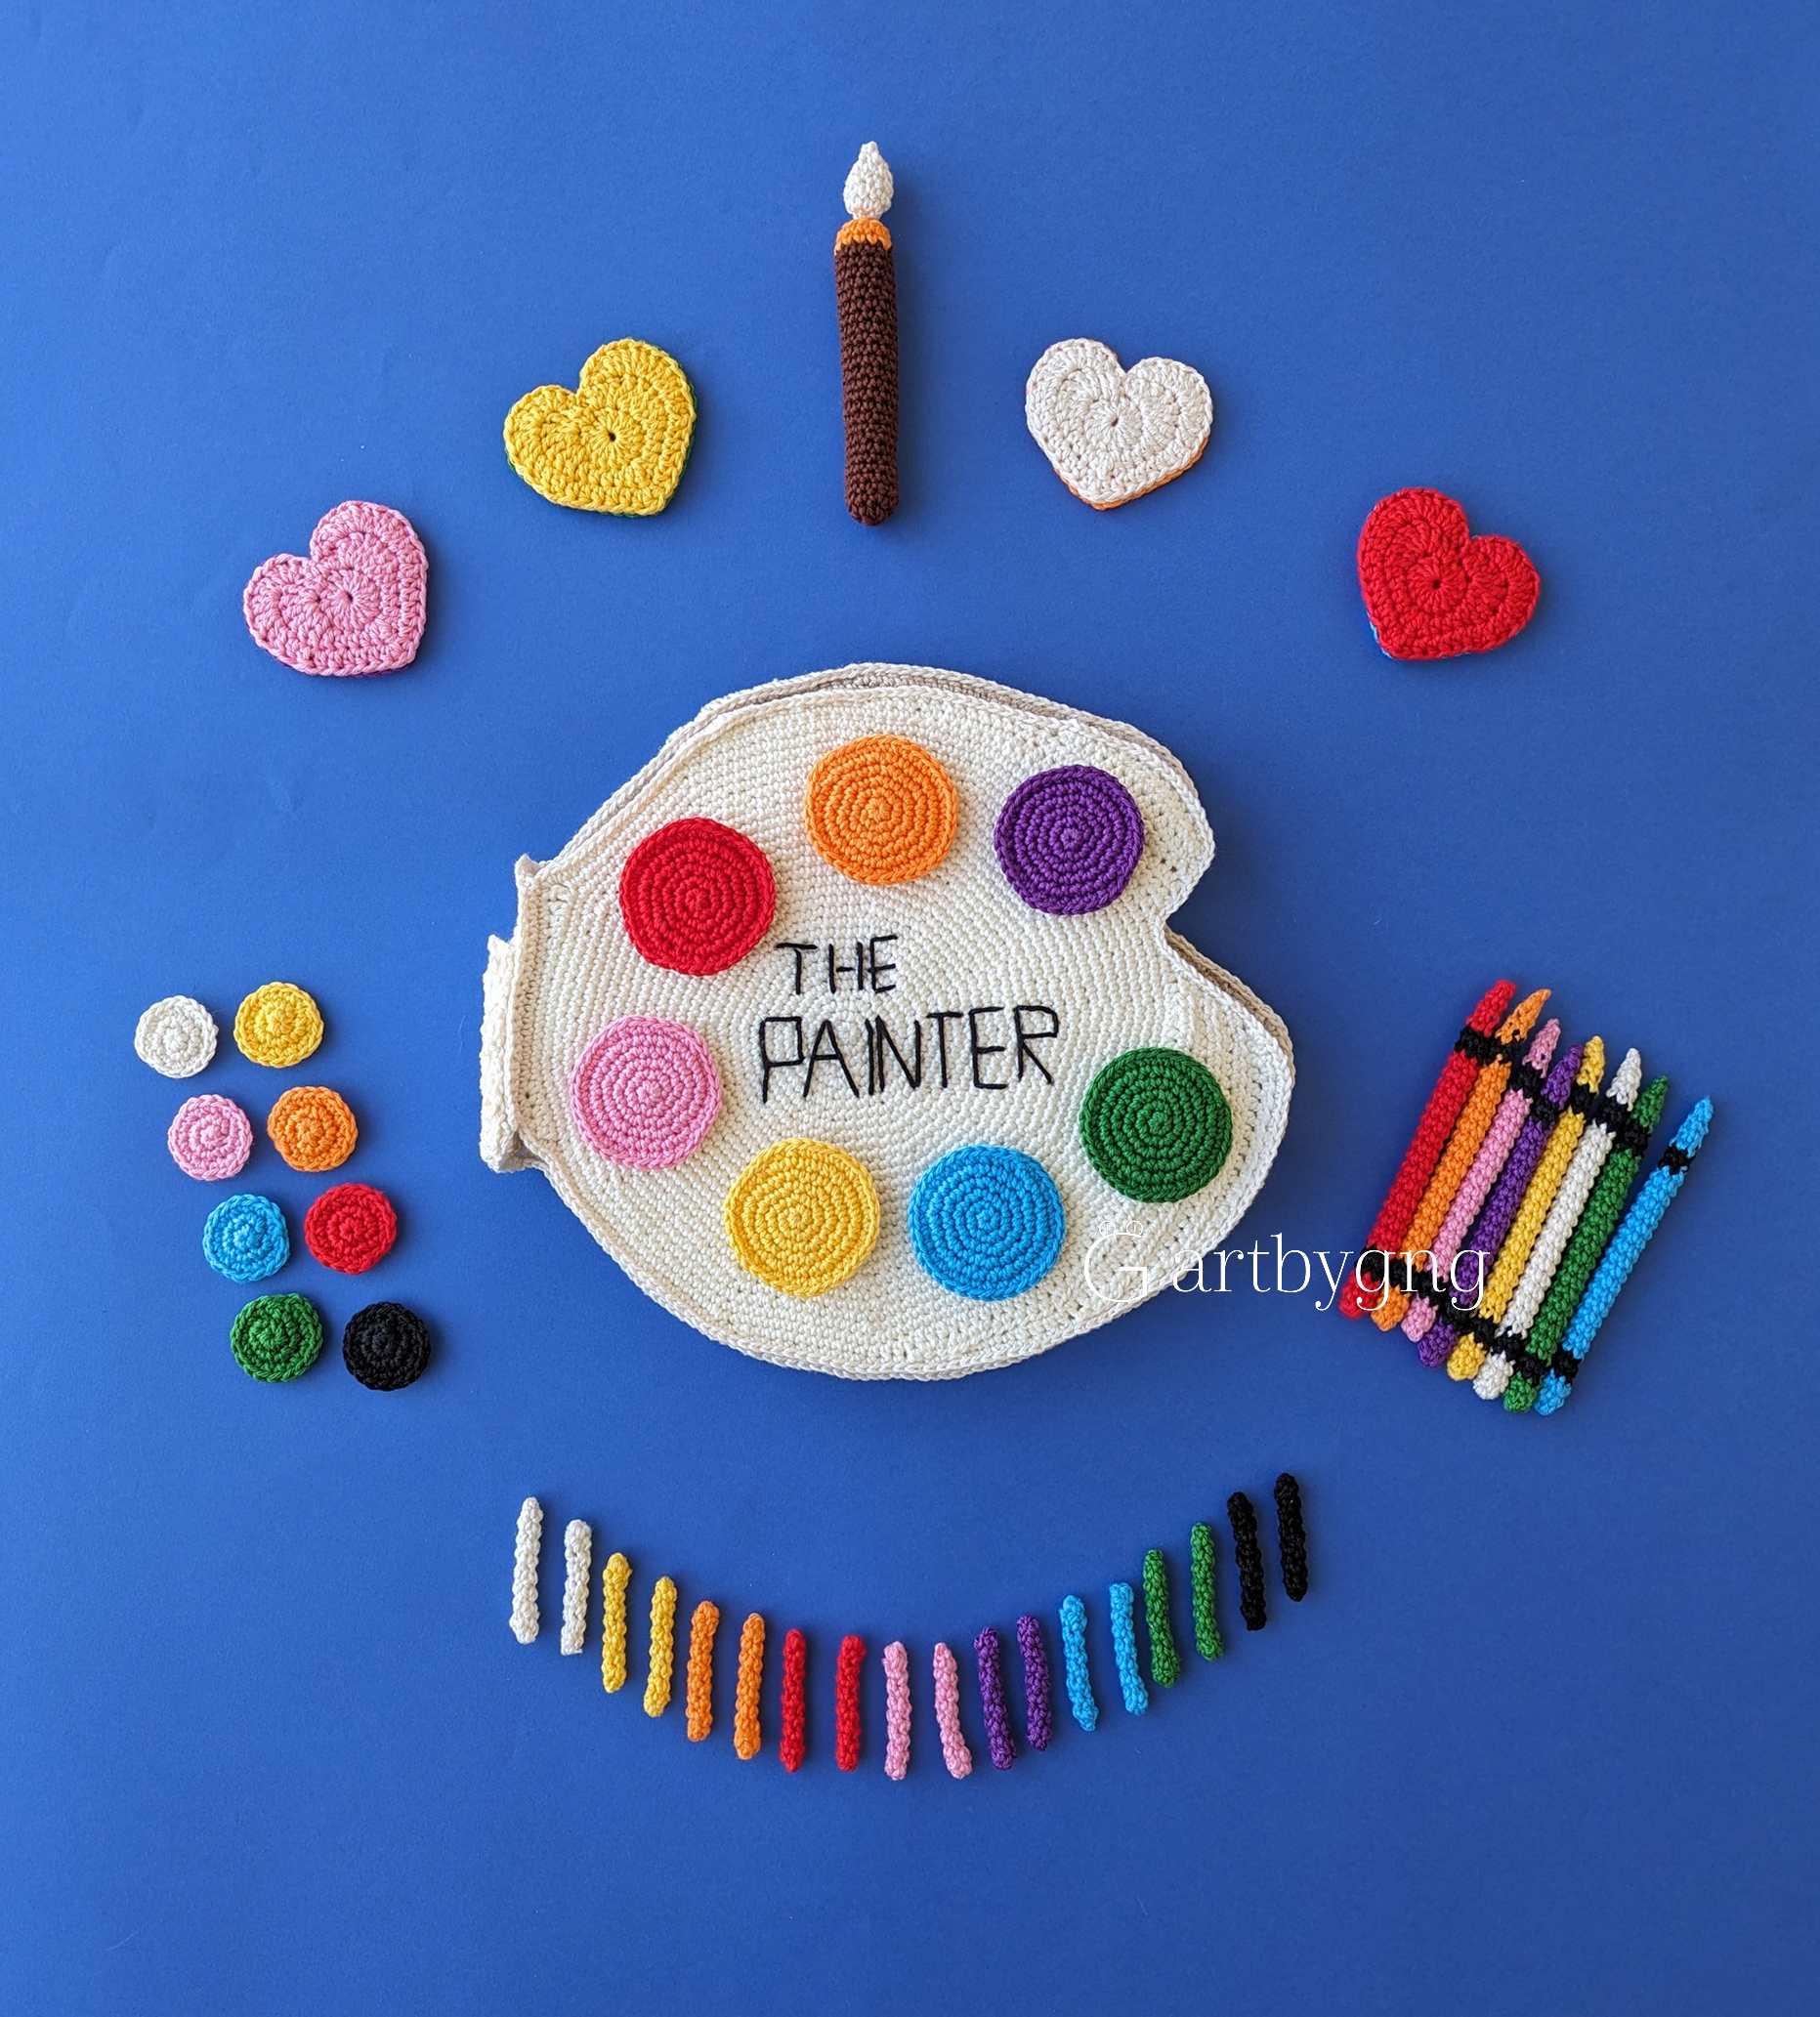
As you can see above in the beginning of the post I make sure to take a picture every few rows at the very least, and often even more frequently than that. I’ve learned through my pattern reviewers that it was a game-changer and incredibly helpful, and all of my patterns follow this rule.
Things to notice when starting a new pattern
When checking out a new pattern, try to go through the following:
- Check the terms language (US or UK?) and the skill level.
- Read the materials list and make a note of anything you’ll need to get (now or later).
- Skim the stitches used to see if there’s anything new you need to learn (YouTube is great for that).
- Skim through photos so you know where the piece is headed.
- Then work line by line, counting stitches at the end of every round or row.
One more really useful habit: mark your line in the pattern. A sticky note on the printed page or a highlight on the PDF that moves as you go — because “wait, which round was I on?” does happen ☺️.
FAQ
What does inc mean in crochet?
inc means increase: work two stitches (usually two single crochets, but check out what the pattern says) into the same stitch. It adds one stitch to your total and among other things, is how flat circles and rounded pieces grow. Its opposite, dec, merges two stitches into one.
What do the numbers in parentheses/brackets at the end of a row mean?
That’s the stitch count — how many stitches you should have when the row or round is complete. Count and compare after every round; it’s the fastest way to catch a missed or doubled stitch while it’s still easy to fix.
How do I know if a pattern uses US or UK terms?
The pattern should say somewhere in the beginning, or even in the pattern page in purchased patterns.
Do I need to know how to read crochet charts?
No — charts (the diagrams of symbols) are a separate system, and written photo-guided patterns usually don’t require them. Sometimes charts are added to a written pattern, but it should say in the pattern page what kind of pattern it is.
You Can Already Read More Than You Think
Just keep the list of abbreviations close in the beginning, and the rest should be very clear. Start with something small, like a simple amigurumi animal, and work your way up.